A VESA mount is only useful if the numbers stamped on its box actually match the holes on the back of the television, and that’s the part plenty of buyers skip. Shoppers often grab a bracket based on screen size alone, then discover at home that the holes don’t line up or the mount can’t safely hold the panel’s weight. Understanding what those VESA figures mean takes a few minutes, and it saves a return trip to the shops.
Table of Contents
What a VESA Mount Pattern Actually Describes
VESA stands for the Video Electronics Standards Association, the industry group that standardised how displays attach to brackets and arms. A VESA pattern has nothing to do with resolution or screen dimensions. It refers purely to the spacing, in millimetres, between the threaded mounting holes on the rear of a TV or monitor.
Flip a mountable television around and those holes are usually arranged in a rectangle or square, sitting flush against the panel’s back plate. The distance between them is what a VESA mount bracket needs to match, not the diagonal screen size printed on the box. A 75-inch TV and a 55-inch TV can technically share the same pattern, while two similarly sized sets from different brands can differ completely.
Reading the Numbers: 400 x 200, 200 x 200 and Beyond
VESA patterns are written as two numbers, horizontal by vertical, always in millimetres. A 400 x 200 pattern means the holes sit 400mm apart from left to right and 200mm apart from top to bottom. A 200 x 200 pattern is square, with 200mm separating the holes in both directions.
Larger televisions tend to use larger patterns simply because there’s more real estate on the back panel, but that’s a tendency rather than a rule. The only reliable way to know a TV’s exact VESA size is to check the specific model, not estimate from its screen dimensions.
Common patterns include the following, though plenty of variations exist beyond this shortlist:
| VESA Pattern | Typical Screen Size | Notes |
|---|---|---|
| 75 x 75 | Small monitors | Common on compact displays and some soundbars |
| 100 x 100 | 19 to 27 inch monitors | Widely supported by desk arms |
| 200 x 200 | 32 to 40 inch TVs | Square pattern, easy to identify |
| 400 x 200 | 40 to 55 inch TVs | Rectangular, wider than it is tall |
| 600 x 400 | 55 to 75 inch TVs | Common on larger flagship panels |
These figures are a guide only. The safest approach is always to confirm the exact pattern for the model in hand rather than assume based on this table.
Finding the Right VESA Mount Size Without Guesswork
The simplest method skips measuring altogether. Most manufacturers list the wall-mount or VESA specification in the TV’s user manual, or on the model’s dedicated support page. Because these details are published directly by the brand, checking the manufacturer support pages is usually faster and more accurate than working it out at home.
When that information isn’t available, a tape measure does the job. Measure from the centre of one mounting hole to the centre of the corresponding hole horizontally, then repeat vertically. Record both figures in millimetres and write them as horizontal by vertical, matching the format used on mount packaging.
There’s also more flexibility than shoppers often expect. Many brackets support a range of patterns rather than a single fixed size, so a mount doesn’t need to be labelled for the exact figure. As long as the TV’s pattern appears somewhere on the bracket’s supported list, the holes will line up correctly.
Why Weight Limits and Hardware Still Matter
A matching hole pattern only confirms that a VESA mount can physically attach to the back of the television. It says nothing about whether the bracket can carry that television safely over time. Every mount carries a maximum load rating, and it needs to sit comfortably above the actual weight of the TV being installed, not just meet it exactly.
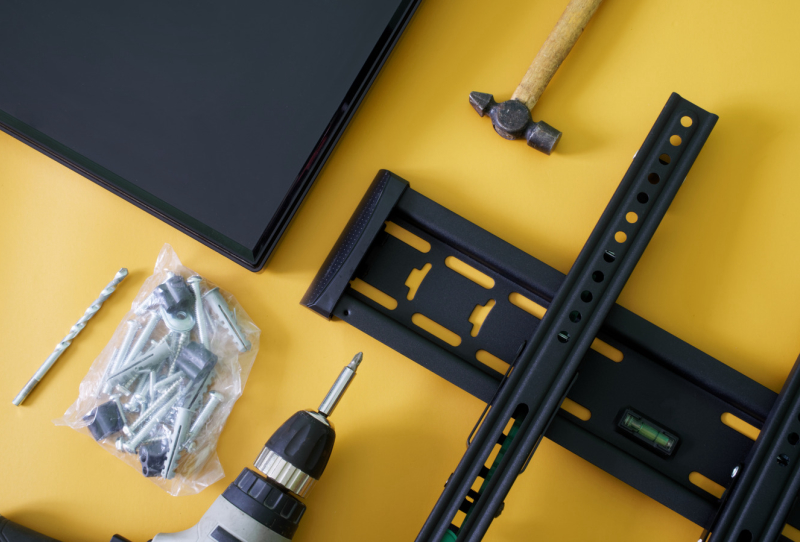
Screws are the other detail that catches people out. VESA compatibility describes the hole spacing, not the fasteners required to secure the panel to the bracket or the bracket to the wall. The TV manufacturer’s instructions will specify the correct mounting screws for the panel, while the mount manufacturer’s instructions cover how the bracket itself should be fixed to a stud or wall anchor.
Getting the pattern, weight rating and hardware right all at once removes the guesswork from what should be a straightforward job. For anyone setting up a broader home theatre corner, that same attention to detail is worth extending to the gear sitting near the screen, whether that’s soundbars, Android TV boxes, or streaming set-top boxes that also need cable runs planned around a mounted panel.
Getting It Right the First Time
Buying the wrong VESA mount is an easy mistake, mostly because the numbers look more technical than they are. In practice, the process comes down to three checks: confirm the hole pattern via the manual or the Video Electronics Standards Association specification sheet where available, measure manually if that information can’t be found, and then verify the weight rating and required screws before drilling anything into a wall.
Skipping any one of those steps is how brackets end up back in their boxes at the returns counter. Taking the extra few minutes upfront means the television goes up once, sits flush, and stays there.