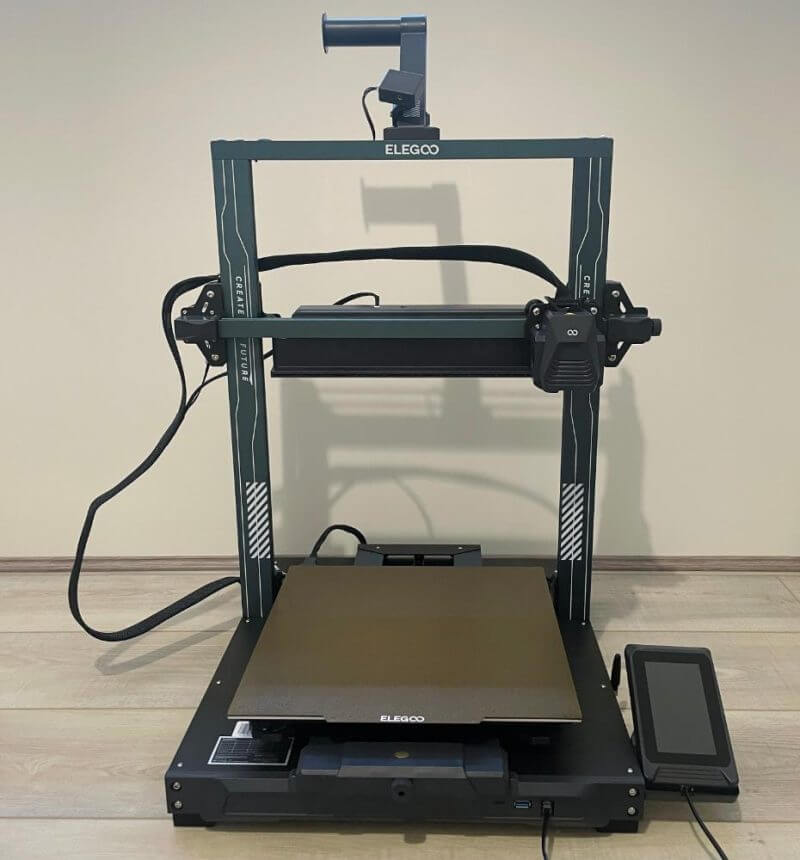
In our Elegoo Neptune 4 Plus 3D Printer Review, we will discuss this last-year-released 3D printer. The Neptune 4 Plus takes the elements and aspects of the 3 Plus and optimises them with heightened features. It also offers high-speed capabilities, built-in WiFi, and Klipper features.
Continue reading this review to learn more about the product. We will discuss its design, functions, features, specifications, and performance.
Elegoo Neptune 4 Plus 3D Printer Packaging
When it arrived at our office, we immediately unboxed the printer for our Elegoo Neptune 4 Plus 3D Printer Review. It shipped in a sturdy cardboard box that protected the product and its accessories.
Inside, you will find the following items Elegoo included:
- Base Unit
- Gantry Frame Unit
- Screen
- Filament Detector
- Printhead
- Spool Holder Arm
- Rear Cooling Fan
- Spool Holder
- Screen Support Block
- Support Strut
- Spiral Cable
- WiFi Antenna
- Power Cable
- Set of Fasteners
- Set of Tools
- Quick Start Guide
Elegoo Neptune 4 Plus 3D Printer Review – Design and Functionality
While writing this Elegoo Neptune 4 Plus 3D Printer Review, we learned that the printer sits between its earlier siblings. Unlike other filament 3D printers, it offers the best compromise between speed, size, and price.
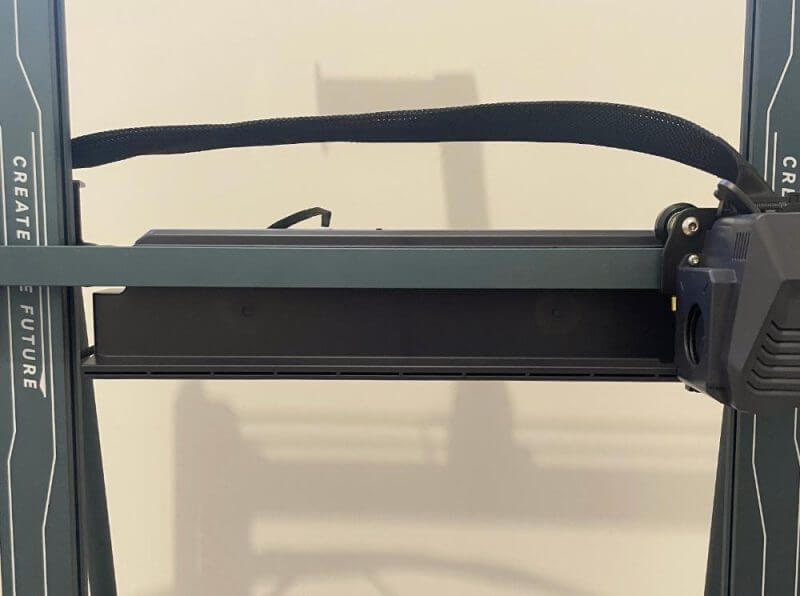
Its Z-axis uses dual lead screws with a syncing belt with a pair of stabilising belts. You will also find a pair of syncing bars that provide the Z-axis frame extra stability when creating tall prints.
The maximum Z height of the printer is 385mm. It is slightly smaller than the 400mm measurement of the Neptune 3 Plus.
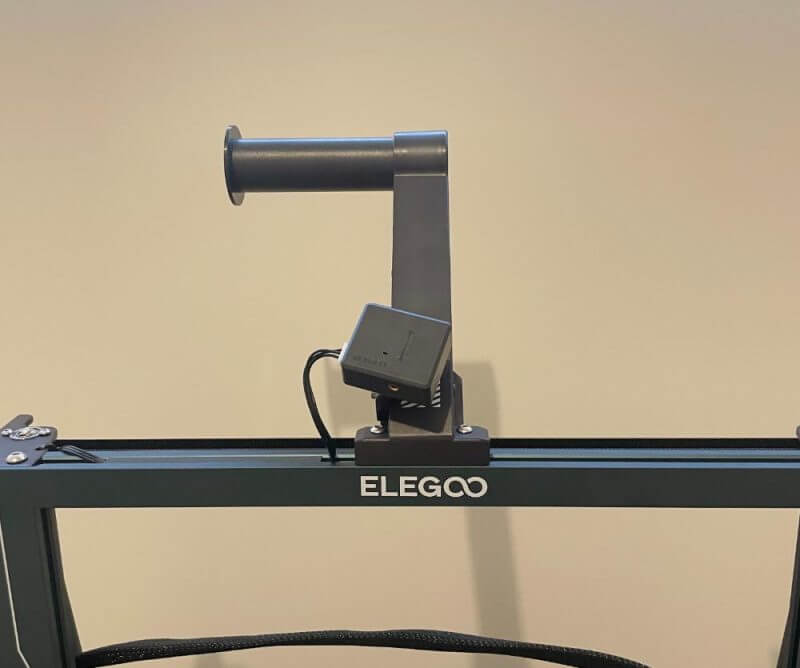
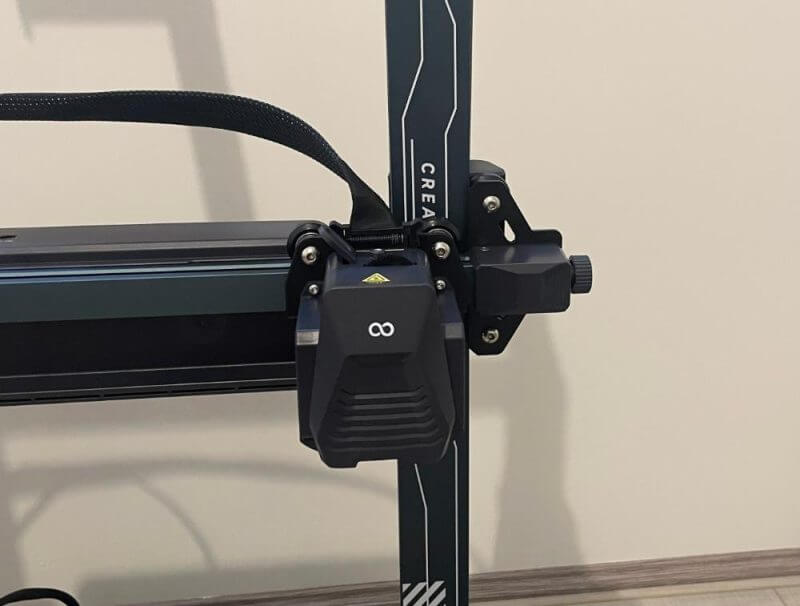
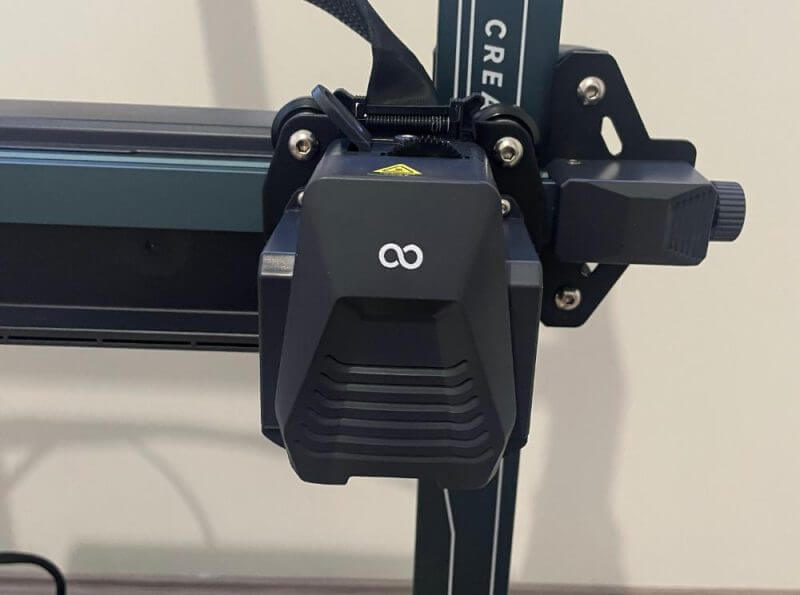
Its frame bolts to the base with several electric connections before the printer is assembled and ready to use. For its filament run-out sensor, you can find it bolted at the top aluminium extrusion. The filament then passes towards the direct drive extruder module.
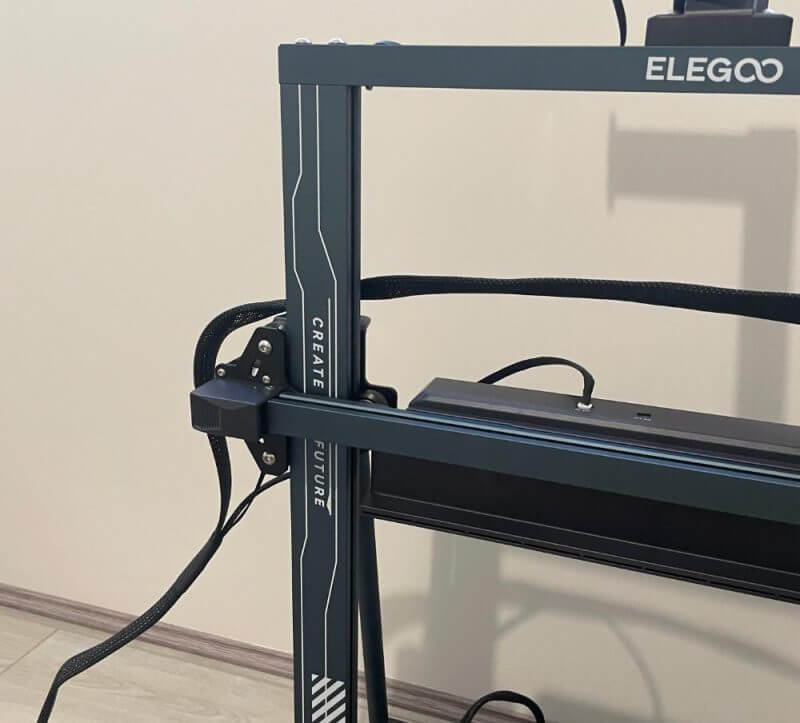
The Neptune 4 Plus has the same stylised printing on the aluminium extrusions. It is a signature element on the Neptune 3 and 4 3D printers, which can also polarise.
Its top bar displays a built-in LED source. This element has a distance of a foot-and-a-half between the LED strip and the build platform. However, it does not provide heightened lighting outside its ambient glow.
Sensorless Homing
The printer has a sensorless homing element, so it lacks end-stops on its axes. It has led some customers to experience grinding sounds during the homing process, which can sometimes be solved by adjusting the homing speed parameter via the firmware.
Fortunately, we did not experience grinding sounds when testing for this Elegoo Neptune 4 Plus 3D Printer Review.
Compared to the Neptune 4 Pro, this 3D printer offers power to heat the entire platform for all prints. On the other hand, the previous only gives power to the centre or its entire area.
Given its size difference, it is only logical to switch the feature. Not all prints on the Neptune 4 Plus take up the whole print bed.
Despite the massive build area, this printer heats the platform to 110°C in under a minute. It is thanks to the efficient 400W power supply.
Elegoo Neptune 4 Plus 3D Printer Build Platform
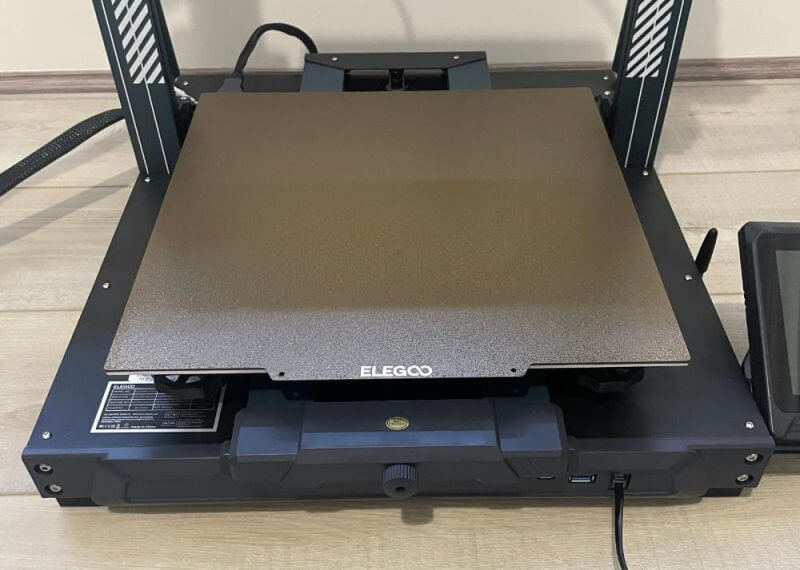
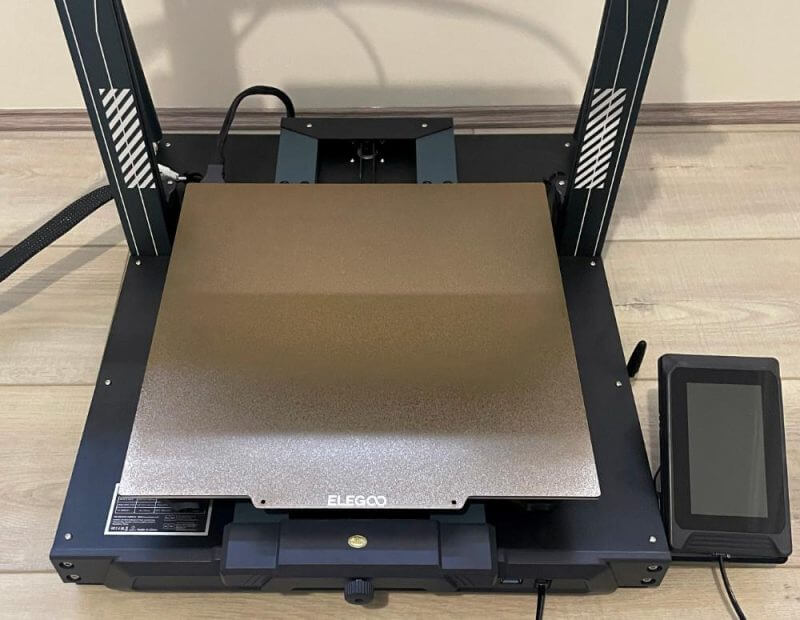
The Neptune 4 Plus has a PEI-built platform with a striking dark gold texture. Its style represents the epitome of an ideal print surface. This surface ensures exceptional adhesion throughout the printing process and facilitates effortless removal of the printed parts once cooled.
In 3D printing, creating a part involves layering. These layers must adhere to the build platform during the printing phase and detach seamlessly afterwards.
We appreciate the ample dimensions of its build platform and the robust magnetic force of its base. Fortunately, most of its printed parts can be easily dislodged by gently flexing the front of the platform. It causes the part to effortlessly pop off.
When using glass for printing, it is common to employ adhesives to secure the part. It leads to challenges in removal during post-printing.
On the other hand, opting for a textured PEI surface enhances the grip of the extruder material. It is during the heated printing process.
After printing is complete, as the build platform cools, the part effortlessly detaches with minimal effort. A distinctive feature of this method is the gritty, textured finish on the platform-facing side of the printed object. The latter might be less desirable compared to a smooth, mirror-like surface.
Blower Fans
Like its siblings, the Neptune 4 Plus sports a row of mounted blower fans along its X-axis rear. These fans blow air across specific areas while they are being printed.
Boosted airflow allows fine details and overhangs to cool speedily after printing. This element is ideal for printers that deposit materials immediately, like this product we are reviewing.
This printer also uses 6025 ball-bearing fans in its assembly. Unlike the pro version, it has only a pair of mounted fans. Despite using fewer fans, the product produces a lot of airflow in Sport Mode, which can be overwhelming.
Integrated WiFi of the Elegoo Neptune 4 Plus 3D Printer
WiFi for printing presents numerous benefits. These include remote initiation and monitoring, surpassing the benefits of starting a print using a USB thumb drive. We looked forward to using these functions since they make 3D printing more convenient and enjoyable.
The Neptune 4 Plus stands out by incorporating built-in WiFi directly into the machine. To enable this feature, you can access a terminal on its side where the WiFi antenna can be plugged into. You can securely fasten these using the included hex wrench.
After linking to the WiFi network from the printer, you can access the Neptune 4 Plus from the OrcaSlicer UI. This option is under the Device Tab.
The Fluidd interface monitors and manages some parameters via the Flipper firmware from the OrcaSlicer. The nozzle, print speed, bed temperature, and other parameters feature individual windows where they are accessible. These allow the print to be monitored by plugging a webcam directly into the printer.
LCD Touchscreen and User Interface
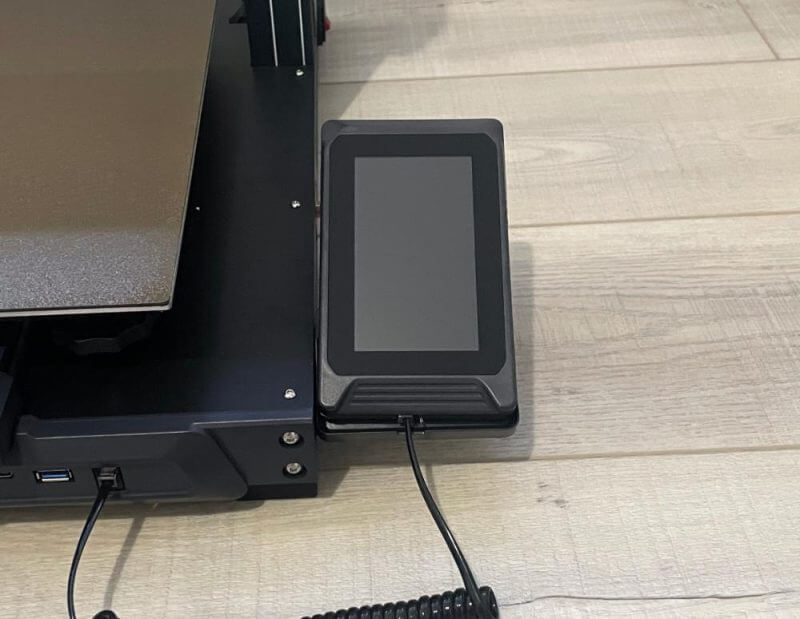
The predominant user interface on the Neptune 4 Plus is the 10.9cm colour LCD touchscreen. It is linked to the printer through a coiled cord and is detachable from its magnetic base.
Handling this LCD screen feels like holding an antiquated Palm Pilot PDA or an older cell phone. Removing it from the base, tweaking print settings via UI, and returning it to the work surface is satisfying.
Its UI is clean, with only several minor changes compared to others in the Neptune line. The interface is almost identical to the one from Neptune 3 Plus, a Marlin-based firmware that does not use Klipper.
You can run the Klipper acceleration calibration from this menu thanks to the accelerometers on its X and Y axes. This function results in more dialled-in prints with fewer artefacts caused by high printing speeds.
This interface lets you directly run PID tuning for the 300°C hot end. This feature benefits users who want advanced functionality without using command line prompts.
Key Features of the Elegoo Neptune 4 Plus 3D Printer
What makes this 3D printer worth purchasing? Is it better than its predecessor? We will discuss its primary features to help you determine if this product meets your needs.
Pre-installed Klipper Firmware for High-Speed Printing
Elegoo ships the Neptune 4 Plus with the Klipper Firmware pre-installed. It allows the 3D printer to execute printing speeds as high as 500mm/s with up to 12000mm/s² accelerations. The 3D printer supports advanced features like pressure advancing and input shaping.
Acceleration Sensors of the Elegoo Neptune 4 Plus 3D Printer
The Neptune 4 Plus has acceleration sensors on the X and Y axes. These enable automated calibration and reduce issues like filament ooze, artefacts, and blobbing to improve print quality. The sensors also calibrate resonance compensation parameters to minimise vibrations and produce more precise prints.
Premium Components for High-Speed Performance
The Neptune 4 Plus performs fast since it uses a Klipper motherboard. It uses an ARM 64-bit 1.5G main frequency quad-core processor for enhanced speed. Plus, it has 8GB RAM to provide ample storage capacity for print files.
Massive Space for Your Creations with the Elegoo Neptune 4 Plus 3D Printer
With its generous 320x320x385mm³ build volume, you can print objects of various sizes. The Neptune 4 expands your creative possibilities while making your 3D printing experience more convenient and fun.
300°C High-Temperature Nozzle – Print With Various Filaments
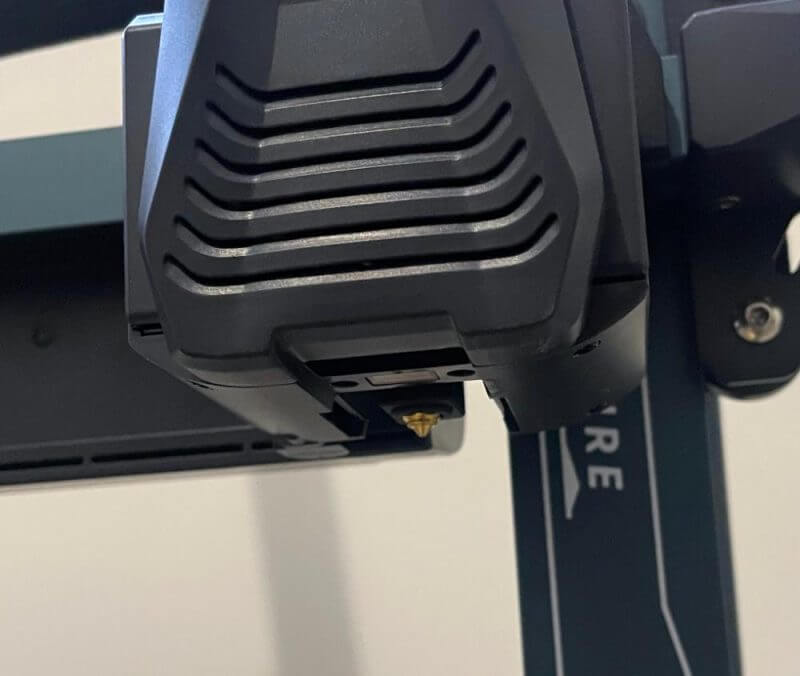
The nozzle kit has an extended hot end, a brass heating block, and a 60W ceramic heating element. As a result, the Neptune 4 Plus can print various filaments, including PLA, ABS, PETG, TPU, and high-temperature nylon.
The automatic calibration of the nozzle PID parameters guarantees precise temperature, which was handy when we tested the product. We also enjoyed its consistent and stable performance during our tests for this Elegoo Neptune 4 Plus 3D Printer Review.
Powerful Extruder and Upgraded Hotend
The dual-gear direct extruder has a 5:2:1 reduction ratio, providing smooth and reliable filament extrusion. Its all-titanium throat pipe reduces nozzle clogging and allows quick heat dissipation.
The brass heating block and 60W high-power ceramic heating element make heating uniform and efficient. These also allow quick filament melting at high speeds.
Versatile Connectivity and Control of the Elegoo Neptune 4 Plus 3D Printer
The Neptune 4 Plus is highly versatile, allowing you to seamlessly connect with various options like WiFi, LAN, and U-disk. It also uses web remote control printing and multi-machine network printing control, adding convenience. These features make managing printing projects effortless and hassle-free.
The Neptune 4 Plus allows you to begin printing jobs with a one-key file transfer.
Efficient Cooling System
The print head has 2×4015 thickened double-sided cooling fans and a 3010 ball-bearing blower fan. These offer omnidirectional heat dissipation and prevent deformation and filament warping.
The 2×6025 ball-bearing blower fans on the print head offer rapid cooling for newly deposited layers.
Specifications
Before you buy this 3D printer, look at its specifications first. It is best to determine what it offers to know if it is adequate for your printing needs and requirements.
- Printing Technology: Fused Deposition Modeling or FDM
- Voltage: 100 – 120V/220 – 240V
- Machine Size: 578 x 320 x 385mm
- Print Platform Size: 330 x 330mm
- Frame Material: CNC Machined Aluminium Extrusion
- File Transfer Method: USB, WiFi, WLAN
- File Format: STL, OBJ
- Maximum Nozzle and Hot Bed Temperature: 300°C and 100°C
- Filament Compatibility: PLA, PETG, TPU, ABS, Nylon, ASA
- Net and Gross Weight: 14.4kg and 18.28kg
- Filament Detection: Yes
- Resume Printing: Yes
- Tool Head Maximum Speed: 500mm/s²
- Tool Head Maximum Acceleration: 12,000mm/s²
Hands-on with the Elegoo Neptune 4 Plus 3D Printer
Before we discuss its performance in our Elegoo Neptune 4 Plus 3D Printer Review, let us check the setup process. You must know how to assemble it to avoid sudden mistakes or accidents.
Initially, the Neptune 4 Plus arrives disassembled, requiring users to undergo an assembly process reminiscent of IKEA furniture. It involves connecting major components, attaching the supplied control pod, and linking various wires.
While a printed manual is included, a digital version is also accessible on a USB stick. The same USB stick features a video tutorial guiding you through the setup process, a resource we diligently followed.
The assembly is uncomplicated and should take approximately an hour without significant challenges. Notably, each step is facilitated by neatly labelled bags containing smaller components like screws. The inclusion of all necessary tools enhances the user experience.
The test arises once all components are assembled, connections are established, and the machine is powered for the initial setup. It is time for levelling.
This crucial step involves meticulous adjustments to raise/lower the nozzle in increments as small as hundredths of a millimetre. Do this until a piece of paper can be pulled between the nozzle and the print bed. However, you should not push it back in.
This levelling process is iterated across six points around the bed, where adjustments are made using springs underneath. These can be tightened/loosened by rotating a dial.
The goal is to achieve optimal friction between the nozzle, paper, and bed. Navigating this requires patience as you gauge and adjust the friction to ensure a satisfactory outcome.
While testing for this Elegoo Neptune 4 Plus 3D Printer Review, we saw that it uses an 11×11 point grid. It precisely measures the nozzle offset at 121 points across its build platform.
However, measurements are not the only requirement for completing the build platform calibration, and it can be a tedious process. Additionally, its quick start guide can also appear overwhelming to some. It is most evident for those expecting a one-click calibrate function on the menu.
Conducting a comprehensive bed calibration involves three steps, which can be repeated depending on the calibration needs.
The initial step includes manual calibration through the Printer UI. It guides the nozzle to various points on the platform before prompting you to manually adjust thumbscrews. Plus, it establishes the nozzle offset.
Subsequently, the automatic calibration occurs, employing a probe mounted to the hot end to measure the offset at all points. Finally, the Z-offset is set, providing a global offset applied with the local offsets.
Like its predecessor, the Neptune 4 Plus has six wheels underneath its build platform. These are used for levelling the bed at respective points.
These six wheels adjust the bed height at specific locations, ensuring the Z-offset remains constant. It helps maintain a steady position for the nozzle on the platform at all points.
When the bed levelling system is more complex, attaining an optimal first layer becomes more challenging.
Since its axes feature an end-stop-free nature, we are confused about one aspect. Why did Elegoo not give the Neptune 4 Plus a similarly high level of automation on its bed levelling process?
Adding thumbwheels eliminates some tedious work when levelling a 3D printer. Its probe sensor was ready to provide quick feedback. It also has a hybrid automatic/manual process, a feature rapidly phasing out today due to automatic bed levelling.
Elegoo advertises the Neptune 4 Plus as a high-speed 3D printer. However, this segment of the 3D printer market does not have a standardised definition of speed. With its 500m/s² maximum print speed, the Neptune 4 Plus is surprisingly fast.
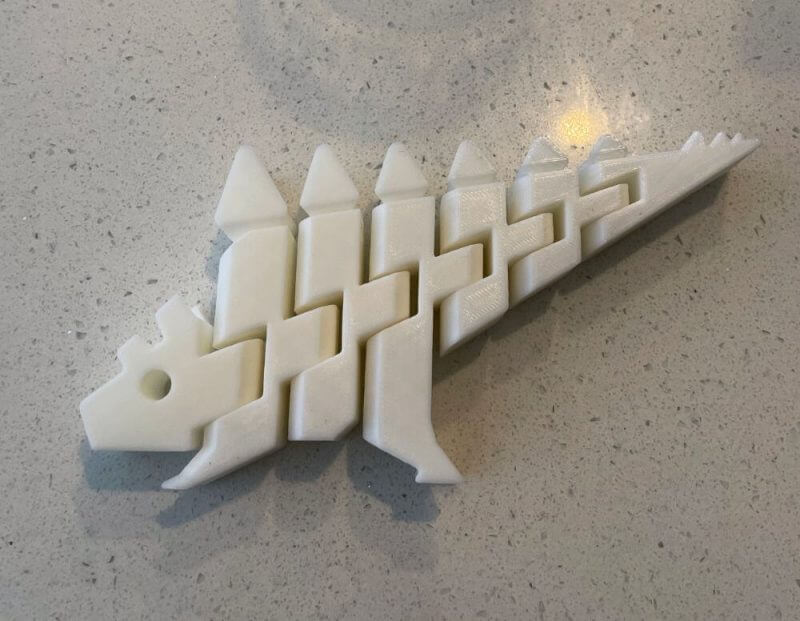
We conducted various trials to assess its print quality and performance. Its level of detail and precision in fine lettering was impressive, particularly its swift production speed.
The most extensive printing session extended over approximately eight hours. On the other hand, the smaller models were efficiently produced within just half an hour.
Elegoo Neptune 4 Plus 3D Printer Review Summary
The Neptune 4 Plus offers impressive features at an affordable price, making it stand out in the market.
This 3D printer may resemble the previous Neptune 3 Plus, but this successor brings many premium features. These improvements make the Neptune 4 Plus an excellent investment for your 3D printing journey.
The acceleration sensors, part cooling fan, integrated WiFi, and other features make it a high-quality printer that performs efficiently. These handy features made our experience more enjoyable while testing it for our Elegoo Neptune 4 Plus 3D Printer Review. Plus, it delivered high-quality prints, making it above the competition in its price range.
We highly recommend this budget-friendly 3D printer. It is a compelling product with high-speed capabilities and features that help improve print quality.
Visit the official product page of Elegoo for more details about the Neptune 4 Plus 3D Printer.

