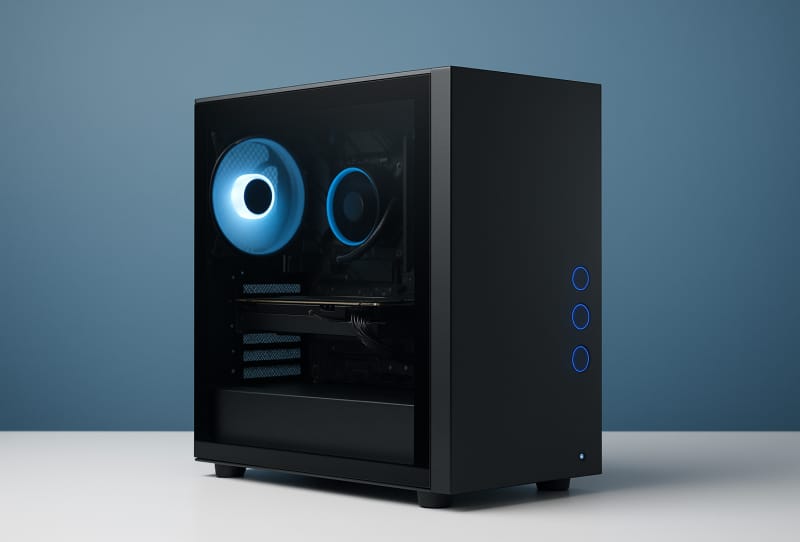
So the last screw is in, every cable is tucked away, and your new rig is sitting there ready to go. This guide walks you through how to set up a gaming PC after building it, from the first power-on through to installing Windows, sorting out drivers, and tuning the settings that actually affect your frame rates. It is written for anyone who has just finished a build, whether this is your first PC or your fifth.
Table of Contents
What you’ll need
- A USB flash drive with at least 8GB of free space
- Access to another computer with an internet connection
- A genuine Windows product key (Windows 10 or Windows 11, matching the edition you plan to install)
- Your keyboard, mouse, and monitor cable, ready to connect
- A basic idea of what components you installed, particularly your CPU cooler type and RAM speed
If you have not yet finished the physical build, it is worth reading a guide on how to build a gaming PC from scratch or checking that you chose compatible parts for your build before moving on to setup.
Power on and check the BIOS first
Before you touch Windows, plug your keyboard and mouse into the motherboard’s USB ports directly, and connect your monitor cable to the graphics card, not the motherboard. If the display cable goes into the motherboard instead of the GPU, you will likely get no signal at all. Flip the switch on the back of the power supply and turn the PC on.
- If your PC boots straight to a BIOS screen, that is expected on a fresh build. If nothing appears on the monitor, double check your cable is in the graphics card, not the board.
- If you fitted an all-in-one liquid cooler, find the fan control section in the BIOS (often under a hardware monitor tab, or a branded tool like Q-Fan on some boards) and set the header your pump is connected to as a constant, full-speed profile rather than a temperature curve. A pump needs steady flow, not a fan-style ramp.
- Check whether your motherboard needs a BIOS update to support your CPU, particularly on newer processors paired with older board revisions. Only do this if your system is stable enough to boot, and follow your motherboard maker’s official flashing method.
- If you are running a modern GPU, look for a setting called Resizable BAR (or Smart Access Memory on some AMD boards) and enable it if available. This can improve performance in supported games.
- Save your changes and exit before moving to the operating system install.
Create Windows installation media
- On another computer, visit the official Windows 11 download page and download the media creation tool for the version you intend to install.
- Plug in your USB flash drive, run the tool, accept the terms, and choose the option to create installation media for another PC.
- Select your USB drive when prompted. Everything currently on that drive will be erased, so make sure nothing important is stored there.
- Let the tool download the files and build the bootable drive. This can take a while depending on your internet speed.
- Once it finishes, safely remove the USB drive and take it to your new PC.
Install Windows on your new PC
- Insert the USB drive into your gaming PC and restart it, entering the boot menu (usually a key like F11 or F12 during startup) to select the USB drive as the boot device.
- Follow the on-screen prompts to install Windows, choosing custom install and selecting your storage drive when asked where to install it.
- Enter your product key when prompted, or skip and activate later from within Windows once you have internet access.
- Complete the initial setup steps, including creating a user account and connecting to Wi-Fi or ethernet.
Install drivers and check for updates
- Install the chipset driver for your motherboard first, as this ensures Windows correctly recognises your CPU, storage, and USB controllers.
- Download and install the correct graphics driver for your card, using the NVIDIA App for NVIDIA cards, or the equivalent official tool from AMD or Intel for their graphics hardware.
- Run Windows Update and install all available updates, including optional driver updates, then restart when prompted.
- In the storage section of Windows, confirm all your drives are showing up correctly. If a drive is missing, check it is initialised in Disk Management.
Tune settings for gaming performance
- Go back into the BIOS and enable XMP (or EXPO on AMD systems) so your RAM runs at its rated speed rather than a slower default.
- In Windows, set your power plan to a high performance or balanced-high option rather than a power saver mode.
- Check your monitor’s refresh rate in display settings and make sure it matches the maximum your monitor supports, not a lower default value.
- Turn on Game Mode in the Windows gaming settings, and consider disabling the Xbox Game Bar overlay if you do not use it, as it can affect performance in some titles.
- Review startup applications in Task Manager and disable anything you do not need running in the background every time you boot.
Tips and troubleshooting
If you get no display at all on first boot, reseat your RAM and graphics card, and confirm the monitor cable runs into the GPU rather than the motherboard’s video output. A black screen after installing a graphics driver is often fixed by using a dedicated uninstaller to remove old drivers cleanly before reinstalling. Random restarts under load are frequently linked to an unstable XMP profile, so try running memory at its default speed to see if the issue disappears before troubleshooting further. If you are considering a Linux-based setup instead of Windows, it is worth reading about building the ultimate Linux gaming rig before committing to one platform.
Frequently asked questions
Do I need to update the BIOS before installing Windows?
Not always. Only update the BIOS if your motherboard maker specifically lists compatibility issues with your CPU or RAM, since flashing an otherwise stable system carries some risk and is unnecessary for most builds.
Why is my new gaming PC not detecting all of my RAM speed?
By default, most systems boot RAM at a conservative base speed until you manually enable XMP or EXPO in the BIOS. Without this step, your memory will run well below its rated speed.
Should I install Windows 10 or Windows 11 on a new gaming PC?
Windows 11 is the current standard for new builds and has better long-term support, so it is the sensible choice unless a specific game or piece of hardware you rely on has a known compatibility issue with it.
What is the first thing I should do after installing Windows on a gaming PC?
Install your chipset and graphics drivers before anything else, then run Windows Update fully. Doing this first avoids stability issues that can occur when games or other software are installed before core drivers are in place.