Picking individual parts for a gaming PC is the easy part. Making sure those parts actually work together, physically and electrically, is where a lot of first-time builders trip up. This guide walks you through how to choose compatible gaming PC parts so your CPU, motherboard, RAM, graphics card, power supply and case all end up on the same page, with no surprises when you get to assembly.
Table of Contents
What you’ll need
- A rough budget and idea of the games or resolution you want to play at
- A list of the parts you’re considering (CPU, motherboard, RAM, GPU, storage, PSU, case, cooler)
- Access to each part’s official product page or spec sheet
- A compatibility checker such as PCPartPicker’s build tool
Start with the CPU and motherboard
The processor and motherboard are the two parts everything else builds around, so get this pairing right first.
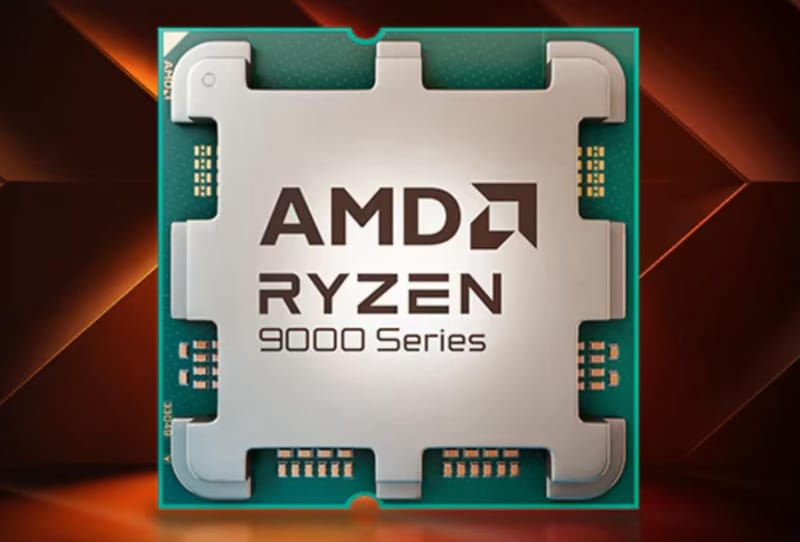
- Check that the CPU’s socket type matches the motherboard’s socket exactly. A processor will not physically fit, let alone work, in a socket it wasn’t designed for.
- Confirm the motherboard’s chipset supports that specific CPU generation. Sockets can sometimes span more than one CPU generation, but not every chipset within that socket supports every chip, so check the manufacturer’s supported CPU list.
- Look at whether a BIOS update is needed for newer CPUs on older motherboard stock. If so, note that some boards need an older, compatible CPU installed first just to flash the update.
- Decide on motherboard size (ATX, Micro-ATX, Mini-ITX) based on the case you plan to use, since this affects expansion slots and connectivity.
Match RAM to what the motherboard supports
- Check the memory type your motherboard accepts, since boards are built for one generation of RAM and won’t accept another.
- Look up the motherboard’s maximum supported speed and capacity, along with how many memory slots it has.
- Buy RAM in a matched kit (two or four sticks sold together) rather than mixing individual modules, as this avoids timing and voltage mismatches.
Check GPU size against the case
Graphics cards are the most common source of “it doesn’t fit” problems in a new build.
- Find the graphics card’s listed length, height and thickness (often expressed as a slot count) on its product page.
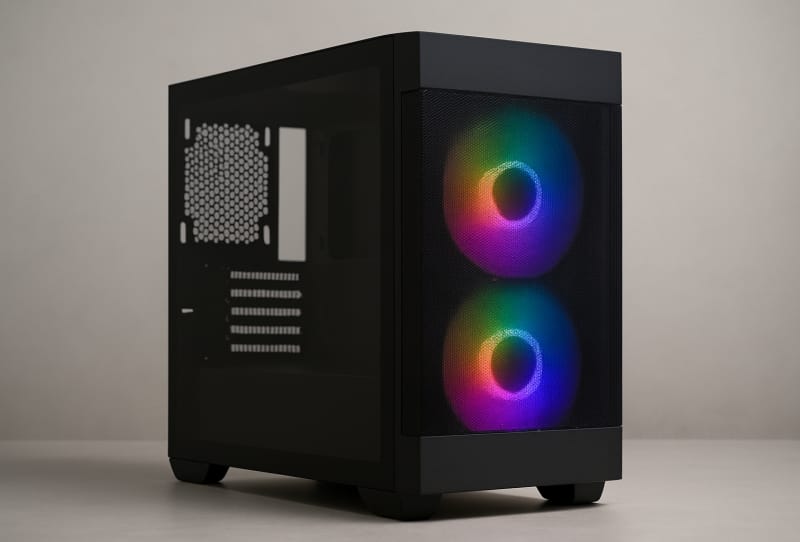
- Compare that against the maximum GPU length your case supports, which is usually listed in the case’s specifications.
- Account for any front-panel radiator or extra fans you plan to install, since these can eat into the same clearance the GPU needs.
- If you’re unsure, read a hands-on motherboard review or GPU review for real measurements rather than relying on box art alone. For more detail on picking the card itself, see this guide to choosing the best GPU for your gaming PC.
Work out your power supply needs
- Add up the estimated power draw of your CPU and GPU under load, then include a margin for storage, fans, RGB lighting and future upgrades.
- Choose a power supply with a wattage comfortably above that total rather than cutting it fine.
- Confirm the PSU has the correct connectors for your GPU and motherboard, since newer graphics cards sometimes need a specific power connector that older units don’t include.
- Check the PSU’s physical size fits your chosen case, particularly in smaller Mini-ITX builds.
Confirm cooler and airflow clearance
- Check that your CPU cooler’s mounting bracket supports your motherboard’s socket.
- Measure the cooler’s height (for air coolers) or radiator size (for liquid coolers) against your case’s supported dimensions.
- Make sure the case has enough fan and radiator mounts in the positions you need, and that cable routing and airflow direction make sense once everything is installed.
Use a compatibility checker before you buy
- Enter your shortlisted parts into a tool such as PCPartPicker’s build list, which flags socket mismatches, RAM incompatibility, case clearance issues and estimated wattage automatically.
- Review any warnings it raises rather than dismissing them, and cross-check flagged issues against the official product pages.
- Save or share the finished list so you have a clear reference when it comes time to actually assemble the parts, following a guide such as building a gaming PC from scratch.
| Component pairing | What to check | Why it matters |
|---|---|---|
| CPU and motherboard | Socket type and chipset support | Wrong socket means the CPU physically won’t install |
| RAM and motherboard | Memory generation, speed, slot count | Boards only accept one RAM generation |
| GPU and case | Card length versus case clearance | Oversized cards won’t close the side panel |
| PSU and GPU/CPU | Wattage and connector types | Underpowered or missing connectors cause instability or won’t boot |
| Cooler and case | Height or radiator size versus clearance | Coolers that are too tall or long won’t seat properly |
Tips and troubleshooting
Always check the motherboard manufacturer’s supported CPU list before buying, since some boards need a BIOS update flashed before a newer chip will even boot. If a build seems to have no display output after assembly, mismatched RAM or an unsupported CPU on an outdated BIOS are common culprits. When choosing peripherals to go with your new rig, remember that monitor connections and refresh rates should also match your GPU’s output ports, so it’s worth reviewing options like the Gigabyte AORUS OLED gaming monitors alongside your build.
Frequently asked questions
Can I use any RAM with any motherboard?
No. Motherboards are designed for a specific memory generation and will not accept RAM from a different generation, even if it physically appears similar. Always check your board’s supported memory type and speed before buying.
What happens if my GPU is too big for my case?
The card either won’t fit past the drive cages or fans, or the side panel won’t close. Always compare the GPU’s listed length against your case’s maximum supported GPU length before purchasing either part.
How much power supply headroom should I leave?
Add up your CPU and GPU’s power draw, then choose a PSU rated well above that combined figure to leave headroom for other components and future upgrades, rather than picking one that only just covers your current parts.
Is a compatibility checker tool reliable enough to trust?
Tools like PCPartPicker are a strong starting point and catch most common mismatches, but it’s still worth double-checking flagged issues and physical dimensions against the official manufacturer pages for your specific parts before you buy.