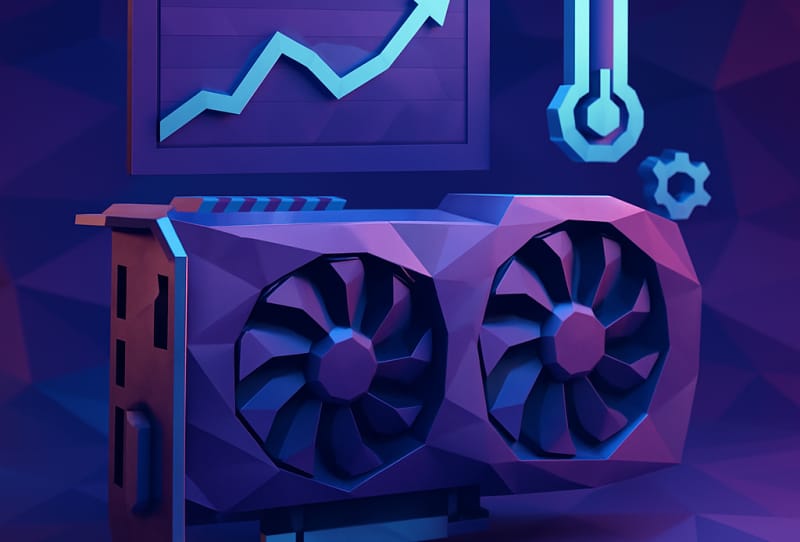
Pushing extra performance out of your graphics card can squeeze out higher frame rates in demanding games, but it needs to be done carefully. This guide walks you through how to overclock your GPU safely, step by step, so you get the performance gains without risking instability, crashes, or long-term damage to the card.
Overclocking a modern GPU is far less risky than it used to be thanks to built-in safeguards like automatic throttling and power limits. Even so, rushing the process or ignoring temperatures can shorten a card’s lifespan or cause crashes mid-game. Working through the process methodically is what separates a safe overclock from a frustrating one.
Table of Contents
What you’ll need
- A desktop graphics card with unlocked clock and power controls (most modern NVIDIA and AMD cards support this)
- Up-to-date graphics drivers installed directly from NVIDIA or AMD
- An overclocking and monitoring utility, such as MSI Afterburner or the manufacturer’s own tuning software
- A benchmarking or stress-testing tool to check stability
- Good case airflow or aftermarket cooling, since overclocking increases heat output
- Patience, since safe overclocking is a slow, incremental process rather than a one-step change
Before touching any settings, it’s worth confirming your gaming PC needs better cooling checked off the list, since extra heat is the main risk factor when you overclock your GPU safely. If your case already runs warm under normal load, address airflow first.
Step 1: Establish a performance and temperature baseline
- Install your monitoring software and open its on-screen overlay so you can see clock speed, temperature, and usage while gaming or benchmarking.
- Run a benchmark or play a demanding game at stock settings for at least 15 to 20 minutes.
- Record the average frame rate, peak temperature, and power draw. This baseline is what you’ll compare every future change against.
- Note the card’s stock power limit and thermal throttle point if the software displays them, since these define your ceiling before things become unsafe.
Step 2: Increase the core clock in small increments
- Open your overclocking utility and locate the core clock offset setting.
- Raise the core clock by a small amount rather than jumping straight to an aggressive figure. Small, incremental steps make it far easier to identify the point where instability begins.
- Apply the change and run a short stress test or benchmark to check for crashes, screen artefacts, or driver errors.
- If the system remains stable, repeat the process with another small increase.
- Stop increasing the clock as soon as you see artefacts, a driver crash, or a hard system freeze. Back off slightly from that point to establish a stable, everyday setting.
Step 3: Adjust the memory clock separately
- Once the core clock is settled, test the memory clock on its own rather than adjusting both at the same time.
- Increase the memory offset in small steps, checking for stability after each change the same way you did with the core clock.
- Memory instability often shows up differently to core instability, commonly as flickering textures or corrupted graphics rather than a full crash. Treat any of these signs as your limit.
Step 4: Manage power limit and temperatures
- If your card allows it, raise the power limit slider slightly so the GPU isn’t held back from reaching your new clock speeds under load.
- Watch the temperature reading closely during testing. Most modern GPUs are rated to run safely up to a certain point, but staying comfortably below that ceiling helps preserve long-term reliability.
- If temperatures climb too high, adjust the fan curve so fans ramp up earlier and more aggressively rather than waiting until the card is already hot.
- Consider improving case airflow or reviewing choosing the right power supply if your existing unit is already working near its limit, since overclocking increases overall system power draw.
Step 5: Run an extended stability test
- With your new core clock, memory clock, and power settings locked in, run a longer stress test or play several different games for an extended session.
- Confirm frame rates have genuinely improved compared with your baseline, and that temperatures stay within a safe, sustained range rather than spiking uncontrollably.
- If everything remains stable across different games and workloads, save the profile in your overclocking software so it can be reapplied easily.
Tips and troubleshooting
- Change one variable at a time. Adjusting core clock, memory clock, and power limit simultaneously makes it impossible to know which setting caused an issue.
- If a game crashes or you see graphical artefacts, reduce the relevant clock offset slightly rather than abandoning the overclock entirely.
- Keep drivers updated, since manufacturers regularly refine power and thermal behaviour through driver updates.
- Avoid overclocking a card that’s already running hot at stock settings. Sort out cooling and case airflow first.
- Overclocking settings usually don’t persist after a restart unless your software is set to launch automatically with Windows, so check this if your performance seems to reset.
- Silicon quality varies between individual cards, even of the same model, so don’t expect to match overclocking results you’ve seen quoted elsewhere exactly.
Frequently asked questions
Does overclocking void my GPU warranty?
In most regions, moderate overclocking within manufacturer software does not void a standard warranty, but physical damage caused by extreme or unsafe overclocking generally isn’t covered. Check the specific warranty terms for your card’s brand before pushing settings aggressively.
How much extra performance can I expect from a GPU overclock?
Gains vary widely depending on the card, its cooling, and how much headroom the specific chip has. A modest, stable overclock typically delivers a noticeable but incremental frame rate improvement rather than a dramatic jump, which is normal and expected.
Is it safe to overclock a laptop GPU?
Laptop GPUs have far less thermal headroom than desktop cards, so overclocking them carries more risk of overheating and throttling. Many laptops also lock these settings entirely, so check whether your manufacturer’s software even permits it before attempting any changes.
What temperature is too high when overclocking a GPU?
Every GPU has a manufacturer-specified maximum operating temperature, after which it will automatically throttle to protect itself. Rather than aiming right up to that limit, keep sustained temperatures with a reasonable buffer below it to protect long-term reliability.