Connecting case fans to your gaming PC motherboard is one of the last wiring jobs in any build, and it is also one that trips up a lot of first-time builders. This guide walks you through how to connect case fans to your motherboard correctly, covering header types, fan hubs for larger builds, and how to set fan speeds once everything is plugged in. It is written for anyone building or upgrading a PC, whether you are fitting two case fans or a full airflow setup with half a dozen.
Table of Contents
What you’ll need
- A motherboard with fan headers already installed in the case
- Case fans with 3-pin or 4-pin connectors
- A fan hub or splitter cable, if you have more fans than spare headers
- Your motherboard manual or the manufacturer’s online reference for header locations
- A torch or phone light to see inside the case clearly
If you have not yet settled on a case or motherboard, it is worth reading up on choosing the right gaming PC case and choosing a gaming motherboard for your build first, since both affect how many fans you can fit and how many headers you will have to work with.
Understand the fan header types
Before plugging anything in, it helps to know what you are looking at. Most motherboards have a mix of fan headers labelled things like CHA_FAN, SYS_FAN, or CPU_FAN, usually printed directly on the board next to the pins. CPU_FAN is reserved for your processor cooler, so case fans should go into the headers marked for chassis or system fans instead.
| Connector type | Pins | Speed control | Typical use |
|---|---|---|---|
| 3-pin (DC) | 3 | Voltage-based, adjusted by the board | Older or simpler case fans |
| 4-pin (PWM) | 4 | Pulse-width modulation for finer control | Most modern case fans |
A 3-pin fan will physically fit onto a 4-pin header, aligned to one side, and still run fine, though you lose the finer PWM speed control. A genuine 4-pin PWM fan gives you smoother, quieter speed ramping because the board can pulse the power rather than just lowering voltage.
Step-by-step: connecting your case fans
- Identify every fan header on the motherboard using the manual, since layouts vary between brands like ASUS, MSI, Gigabyte, and ASRock.
- Decide which fans go where, prioritising intake fans at the front or bottom of the case and exhaust fans at the rear or top.
- Route each fan cable neatly behind the motherboard tray where possible, leaving enough slack to reach the header without straining the connector.
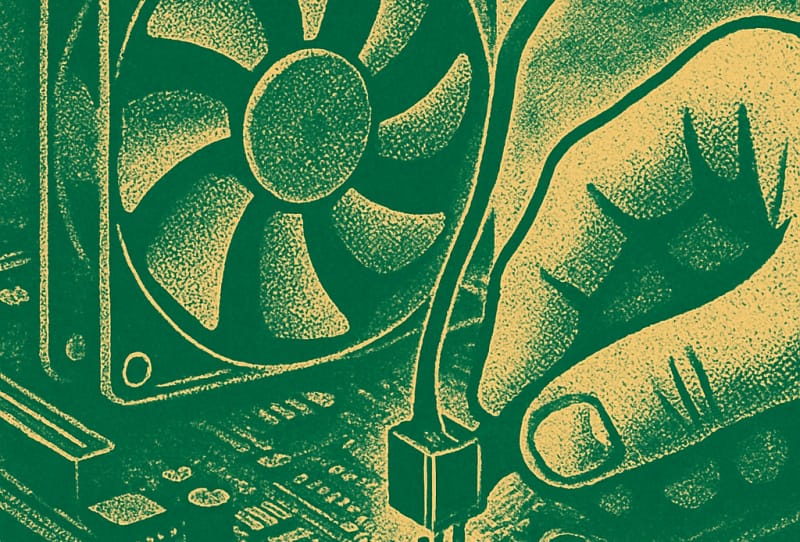
- Line up the connector with the header pins, checking that the notch or shaped edge on the plug matches the header before pushing it on.
- Press the connector down firmly until it clicks or sits flush, rather than at an angle.
- Repeat for each remaining fan, spreading them across different headers rather than all onto the same one if you have enough available.
- Tidy the cables with zip ties or the case’s built-in cable management channels once every fan is connected.
This is a good moment to also double check your other cabling while the side panel is off. If you have not already sorted your main power connections, the guide on connecting your gaming PC power cables correctly covers that process in detail.
Using a fan hub when you run out of headers
Most mainstream motherboards only offer a handful of dedicated case fan headers, which is not always enough for a build with five or six fans. A fan hub or splitter solves this by connecting several fans to a single motherboard header, either drawing extra power directly from the PSU or being controlled entirely through software like Corsair’s iCUE for Corsair fan and lighting hubs.
- Mount the fan hub inside the case, often on the rear of the motherboard tray using its adhesive backing or screw points.
- Plug each fan into the numbered ports on the hub.
- Connect the hub’s control cable to a spare motherboard fan header, and its power cable to a free SATA or Molex connector from the PSU if required.
- Confirm in BIOS or the hub’s companion software that all connected fans are detected and spinning.
Setting fan speeds in BIOS
Once every fan is wired up, restart the PC and enter BIOS to check that each header is recognised and spinning at a sensible speed. Most boards include a fan control section where you can choose a preset profile such as silent, standard, or performance, or set a custom curve that ramps fan speed up as temperatures rise. Consult Noctua’s official fan resources if you want a deeper explanation of how PWM speed curves work in practice.
Tips and troubleshooting
- If a fan does not spin, reseat the connector fully and check it has not been plugged in offset by one pin.
- A fan running at full speed constantly usually means it is plugged into a header set to full-speed mode rather than a PWM or DC-controlled profile in BIOS.
- Label cables temporarily with tape if you are managing a large number of fans, so you know which physical fan corresponds to which header in BIOS.
- Avoid daisy-chaining too many fans off one small in-line splitter without checking its rated current, since overloading a header can trip the motherboard’s protection circuit.
- If fans seem unusually loud after connection, it is worth reading up on whether your gaming PC needs better cooling, since airflow layout matters as much as the fans themselves.
Frequently asked questions
Can I plug a case fan into any header on the motherboard?
You can plug a 3-pin or 4-pin case fan into most system or chassis fan headers, but avoid using the CPU_FAN header for a case fan, since some boards monitor that header specifically for the processor cooler and may shut down or throttle if it does not detect proper CPU cooling.
What happens if I connect a 3-pin fan to a 4-pin header?
It will run normally, aligned to one side of the header, but it loses the finer PWM speed adjustment and instead relies on the board’s DC voltage control, which is generally less precise.
Do all case fans need to be plugged into the motherboard?
Not necessarily. Some fans can be powered directly from the PSU via SATA or Molex connectors, though this means the motherboard cannot adjust their speed automatically, which is why most builders prefer motherboard headers or a controllable fan hub instead.
How many case fans can one motherboard support?
This depends entirely on the board, since some entry-level motherboards only include two or three fan headers while higher-end boards can offer six or more. If you need more than your board supports, a fan hub is the simplest way to expand capacity without overloading any single header.