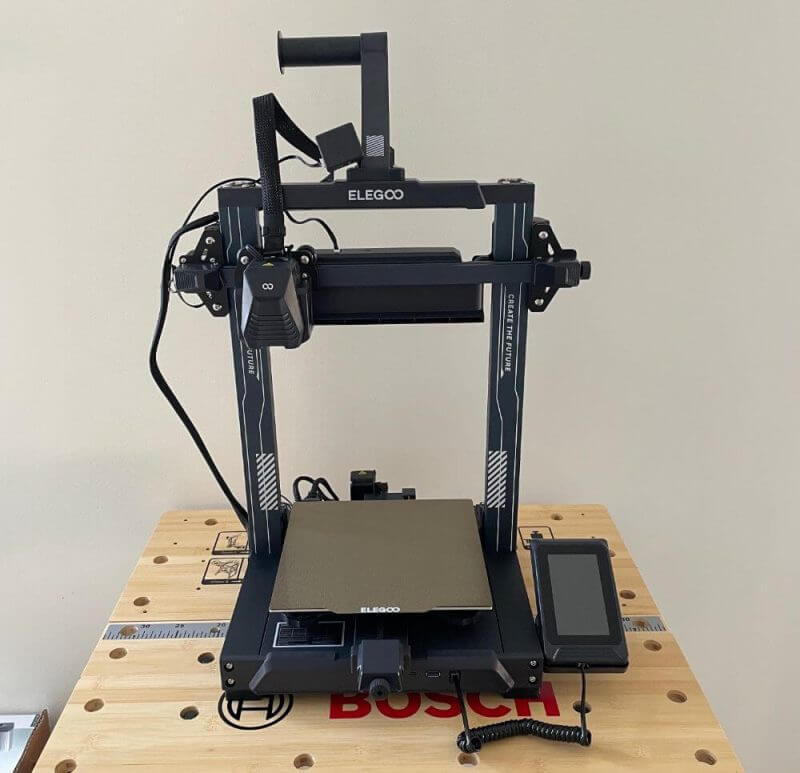
We recently looked into an FDM 3D printer which we will discuss in our Elegoo Neptune 4 3D Printer Review. The Neptune 4 is a promising product for newbies with plenty of features for excellent printing.
The printer has an excellent ventilation system and works with the Klipper firmware. These two elements help make it achieve high printing speeds. However, there is more to these elements that make it a noteworthy product to have.
Today, we will discuss everything related to the printer, such as its features, design, functions, performance, specs, etc. But before looking deeper into the product, our Elegoo Neptune 4 3D Printer Review will discuss its package and inclusions.
Elegoo Neptune 4 3D Printer Packaging
The product shipped in a basic cardboard box. Its exterior features an illustration of the printer, its name, the company logo, and several details.
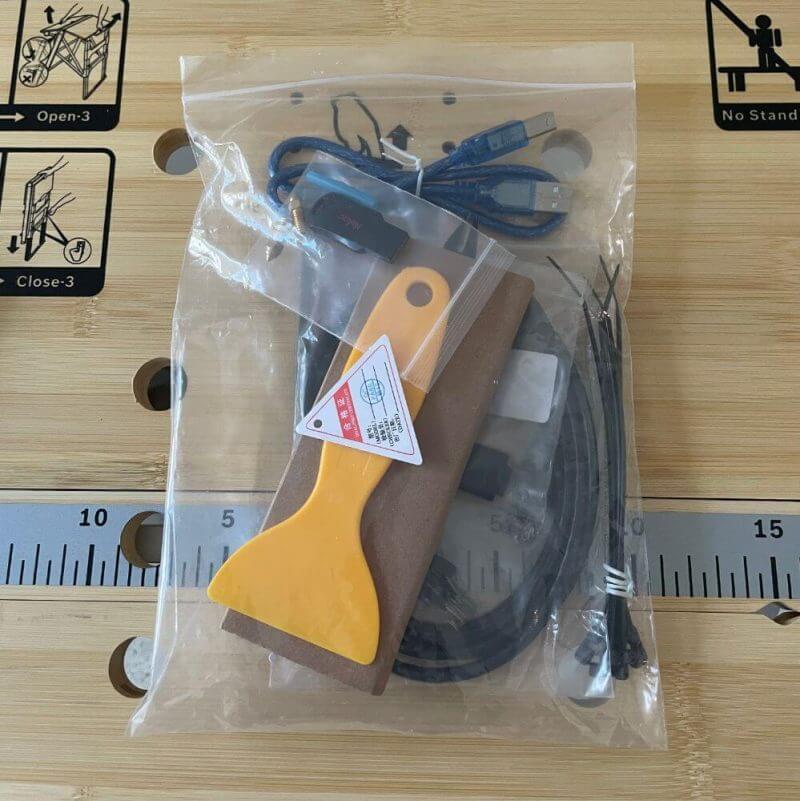
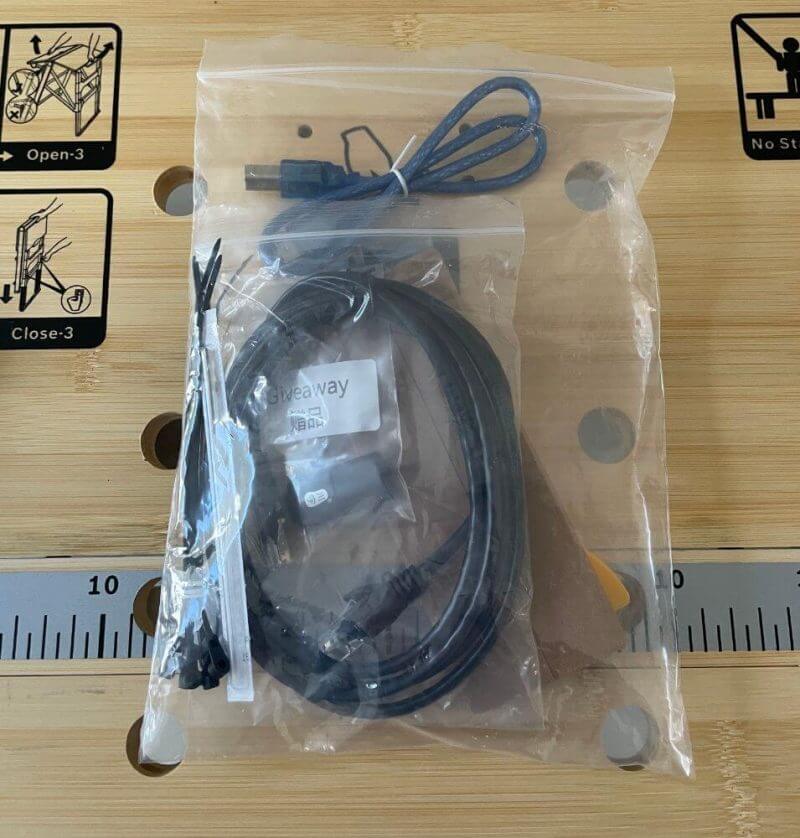
The Neptune 4 is fully equipped with several accessories to guarantee an easy and seamless printing process once you begin. It is ideal for beginners since it features spare parts and all the necessary tools for maintaining and repairing the printer.
No additional accessories/tools need to be purchased separately, as Elegoo has provided everything necessary to begin.
- Tools and screws for assembly
- USB cable
- Cable tie
- LAN cable
- Side cutter for the filament
- PLA filament sample
- Needle for nozzle cleaning
- Plastic spatula
- Spare nozzle (2 × 0.4mm) and PTFE tube for the hot end
- USB stick with the instruction manual, test objects, and the slicer software
Elegoo Neptune 4 3D Printer Review – Design and Functionality
Our Elegoo Neptune 4 3D Printer Review will focus on its operations and design, starting with its print bed.
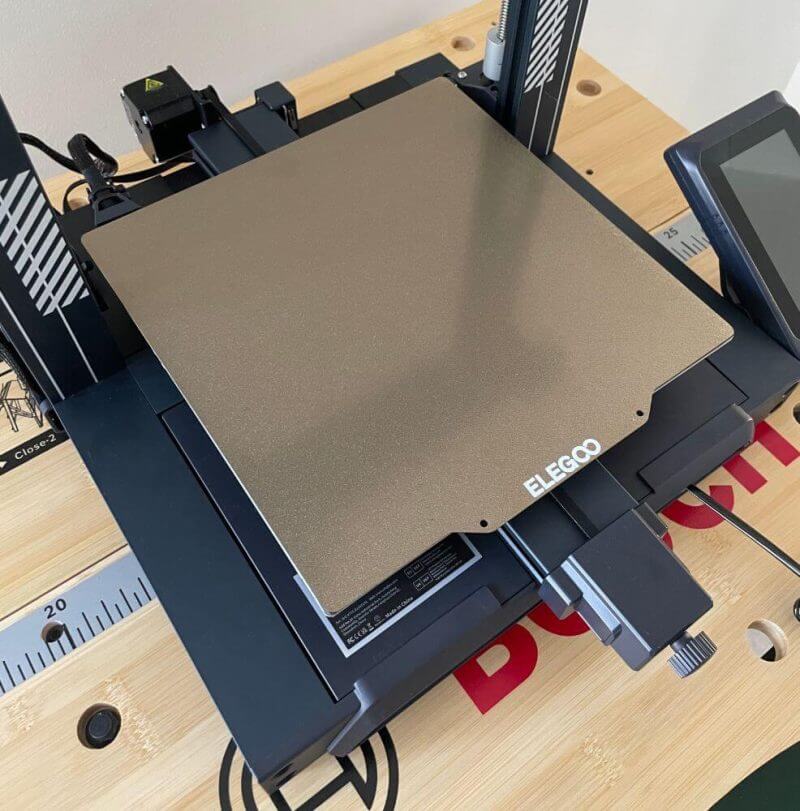
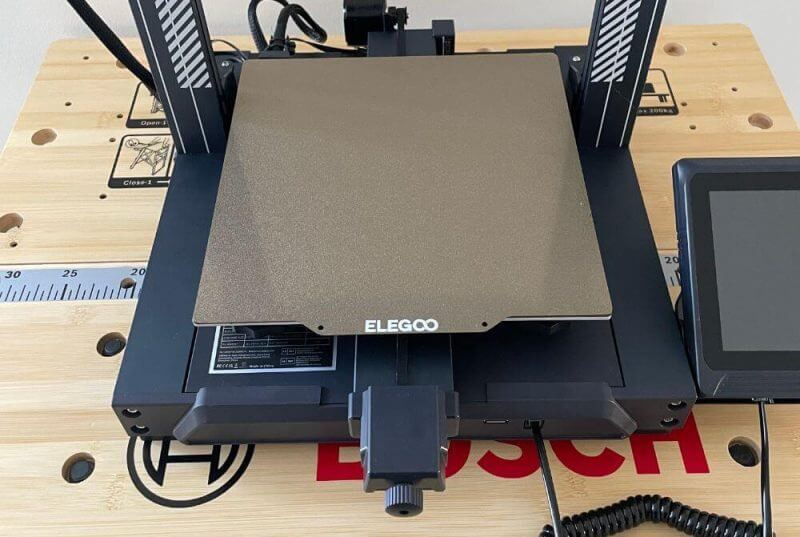
The print bed of the Neptune 4 features a slightly textured, magnetic surface measuring 235 x 235mm. This design ensures an effortless release of prints, allowing you to gently bend the bed after cooling. Doing so retrieves your newly created project.
With its PEI coating, the bed offers exceptional adhesion for a wide range of filaments. The rough surface allows the liquid filament to flow into the indentations, promoting a strong bond. On the reverse side of the print bed, a smooth surface is also available, which is suited for certain filaments.
Since you can easily flex the print bed after printing, it will be convenient to remove the finished products after. It is not generally necessary since the objects will come off after the print bed cools completely. And sometimes, a slight lift on one corner of the area is enough.
Elegoo Neptune 4 3D Printer – Print Bed Levelling
The Neptune 4 model is delivered nearly fully assembled, saving you time and effort in the setup process. It has auxiliary and automatic bed levelling controls, measuring 11 x 11. Plus, it ensures precise and reliable mesh calibration.
On print bed levelling, the Neptune 4 offers manual and automatic options. Located beneath the print bed are rotary screws positioned at all four corners. These screws allow for coarse adjustments, enabling you to set the desired inclination of the print bed.
Cooling and Nozzle
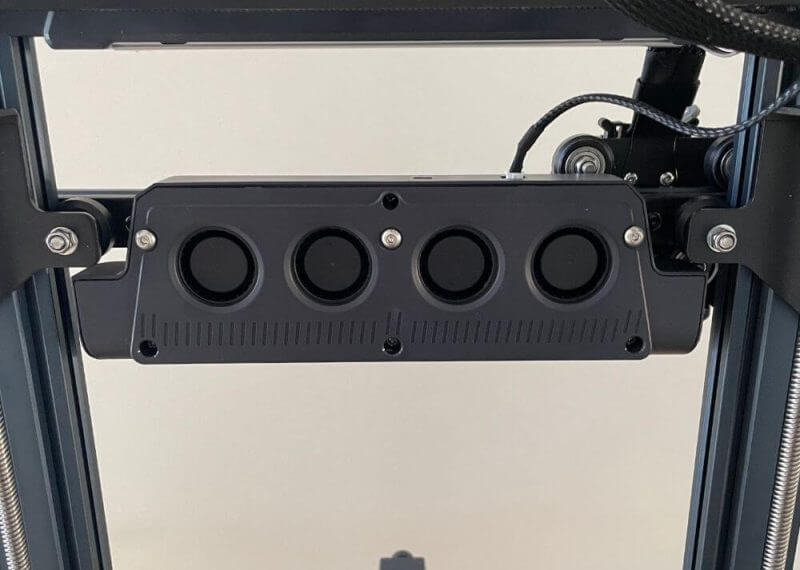
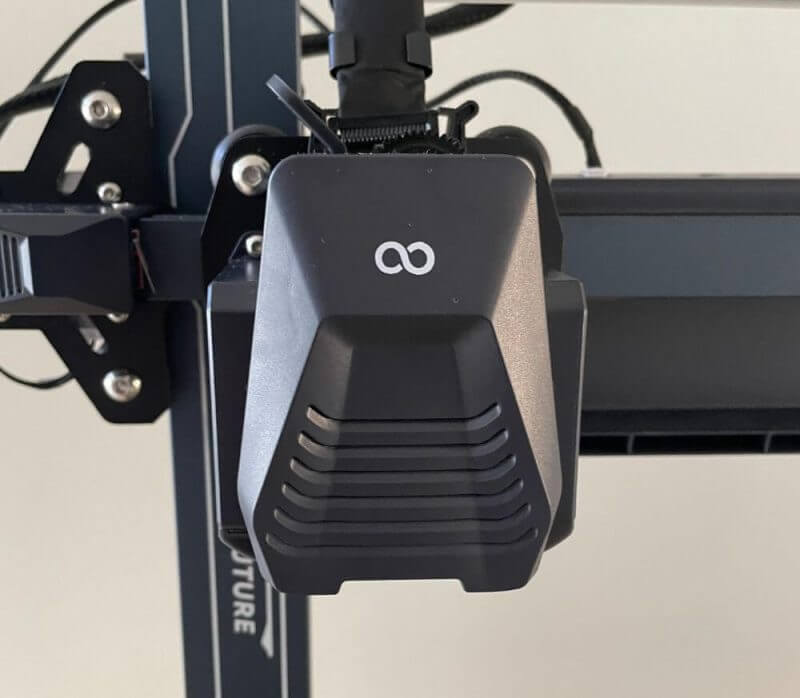
The Neptune 4 has four additional built-in blowers to provide optimised cooling to circulate air across the prints. These extra elements work with conventional fans within the extruder head. They also play a vital role in keeping optimal speeds during the printing process.
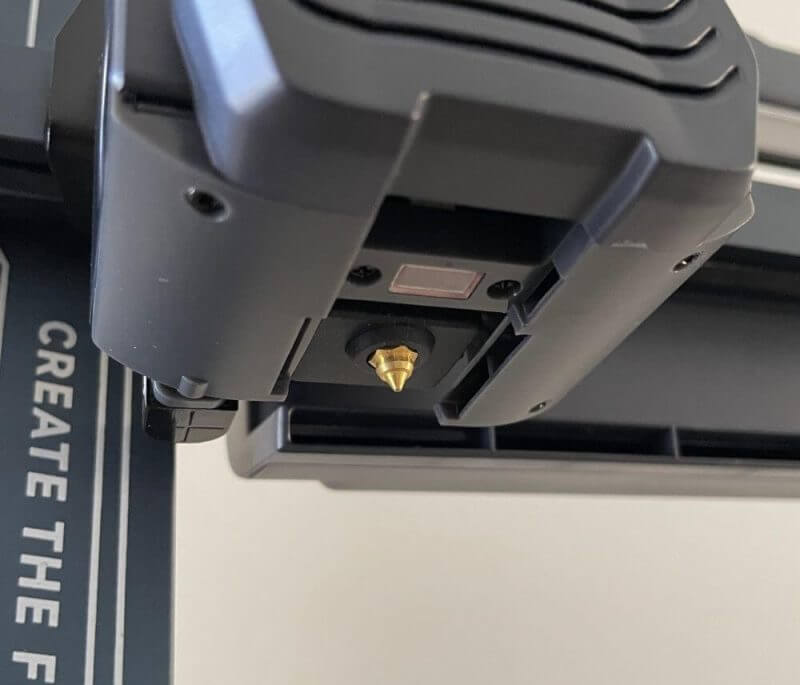
The nozzle of the Neptune 4 model operates at 300 degrees, which is approximately 40ºC hotter than its predecessors. Specifically, these are the Neptune 3, 3 Pro, 3 Plus, and 3 Max.
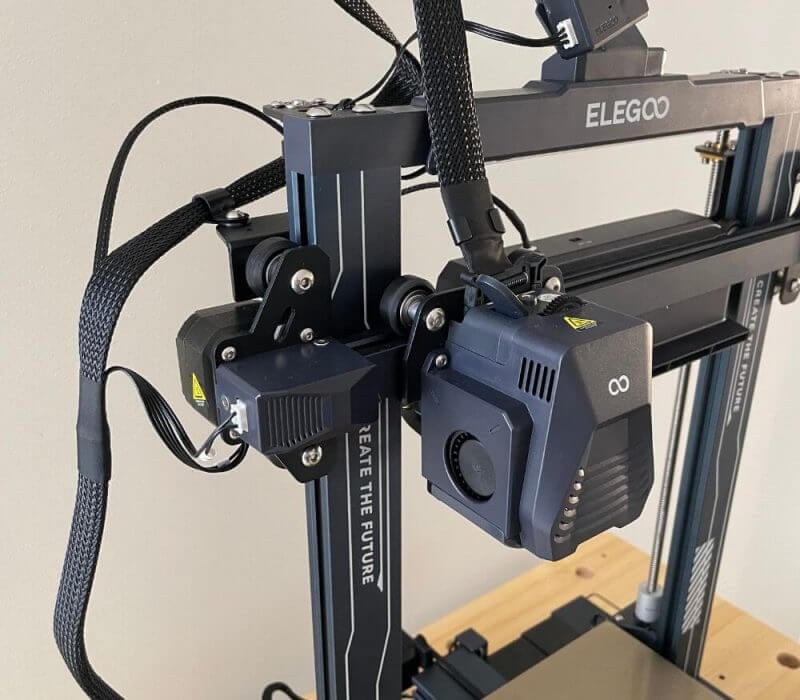
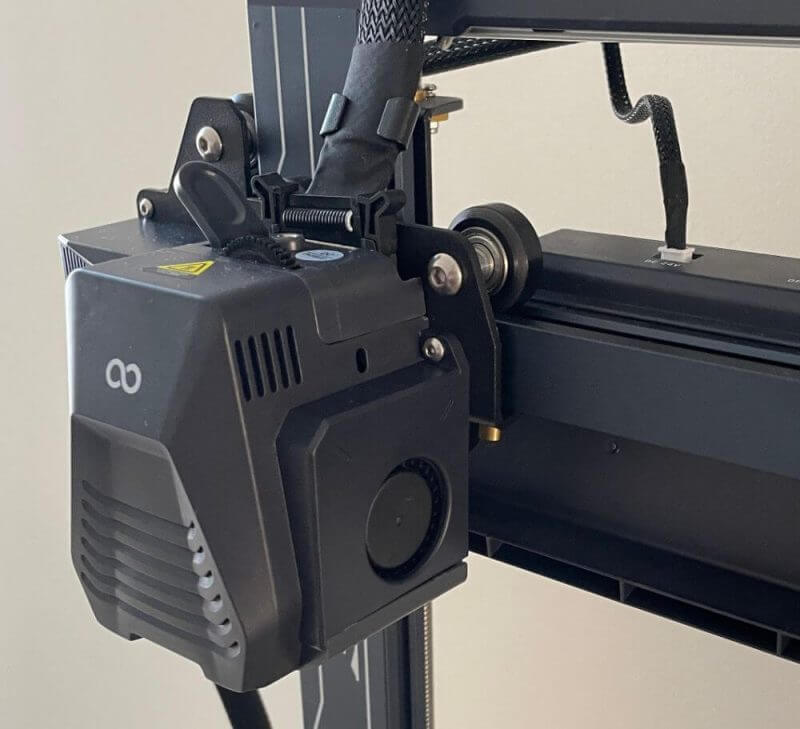
This elevated temperature range allows you to use more filament options. The nozzle is within an extruder head incorporating a reliable and proven dual-geared direct-drive system.
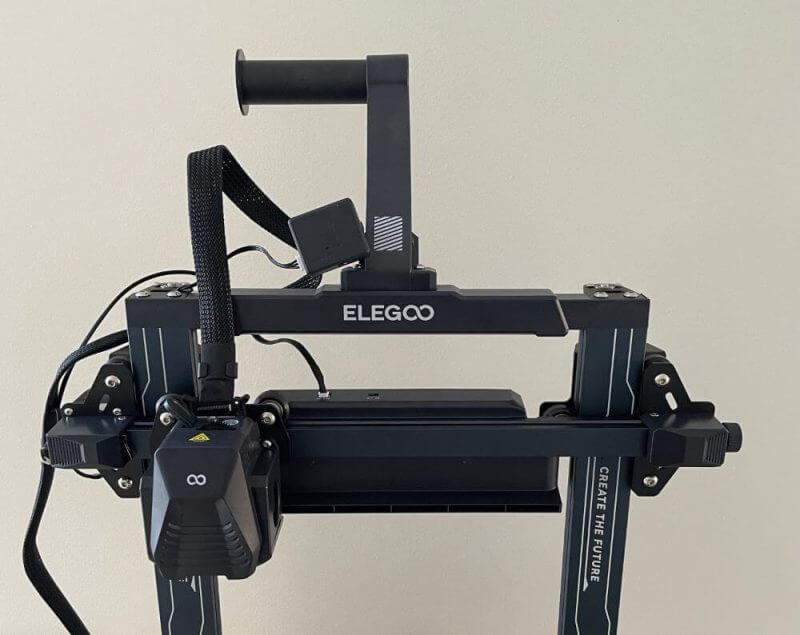
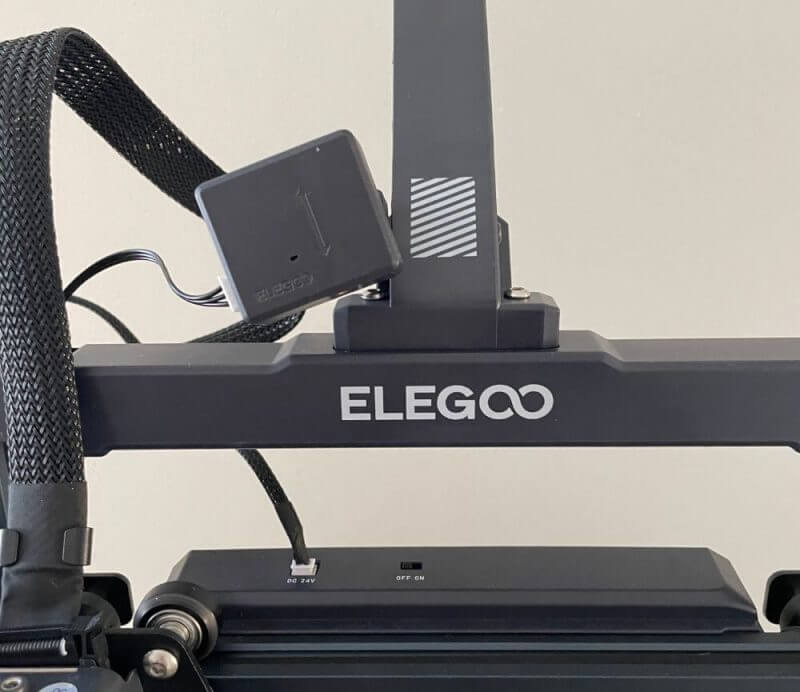
LEDs are all over the product. Specifically, you can find them as a strip on its frame cross-bar and the extruder head. Both light arrangements are essential for better seeing print work once it reaches the bed.
Like the earlier Neptune 3, the integrated power supply of this printer is within the base. That means you will get a pleasing aesthetic without the lumpy power brick.
Connectivity
Fortunately, you can conventionally supply files to Neptune 4. How? It has room for a USB-C cable, microSD card, and USB stick.
You can also find an Ethernet/LAN port behind the screen, specifically to the right of Neptune 4. Plus, you can link to its onboard web server via a local network connection. Doing so will give you full monitoring capabilities and control.
Moreover, you can access the USB webcam remotely via the web interface, an exceptional element for overseeing several printers.
Filament Sensor
A sensor situates on the filament holder and plays a crucial role in printing. The filament travels from the holder, passing through it until it reaches the extruder.
The primary function of this sensor is to detect the presence of filament. If the filament on the spool runs out or breaks, the Neptune 4 printer automatically pauses the printing operation.
The feature enables users to add new filament and resume printing seamlessly. Without the sensor, the 3D printer would continue printing even without filament available. Consequently, the entire print job would need to restart from scratch.
Touchscreen
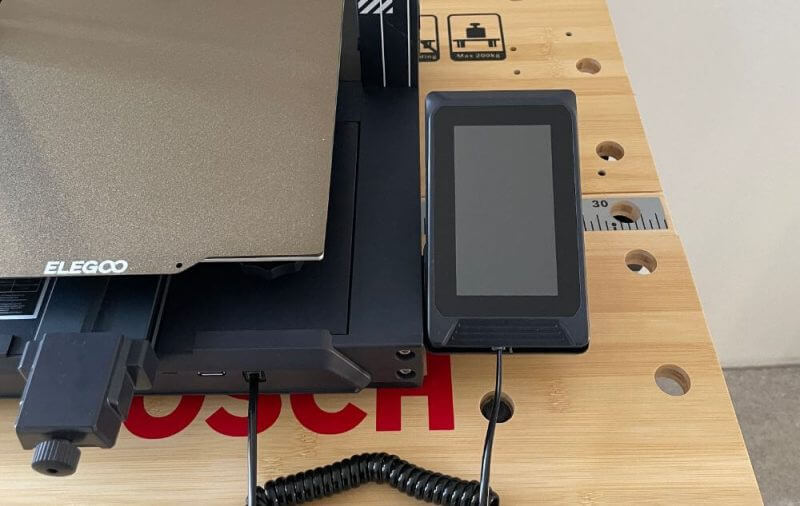
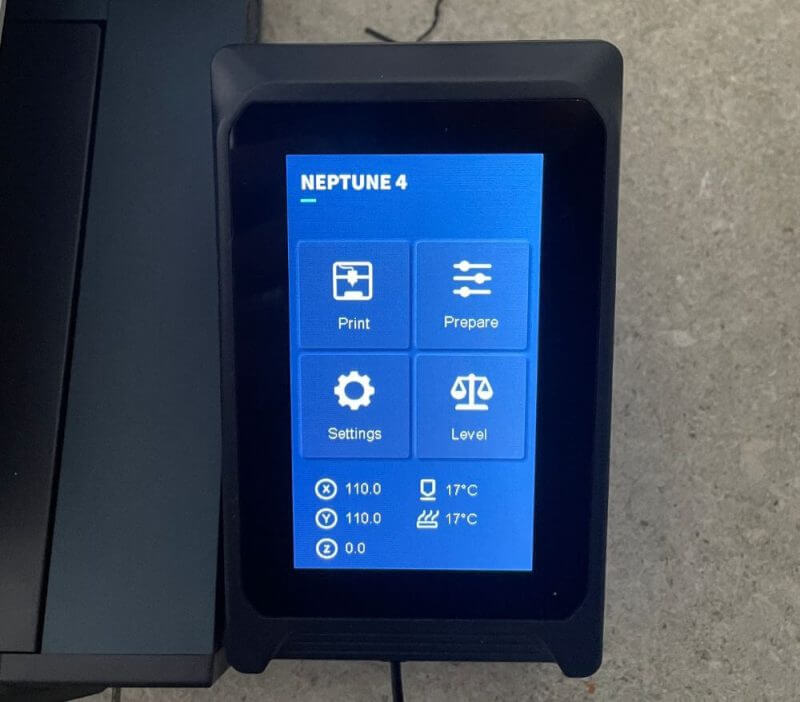
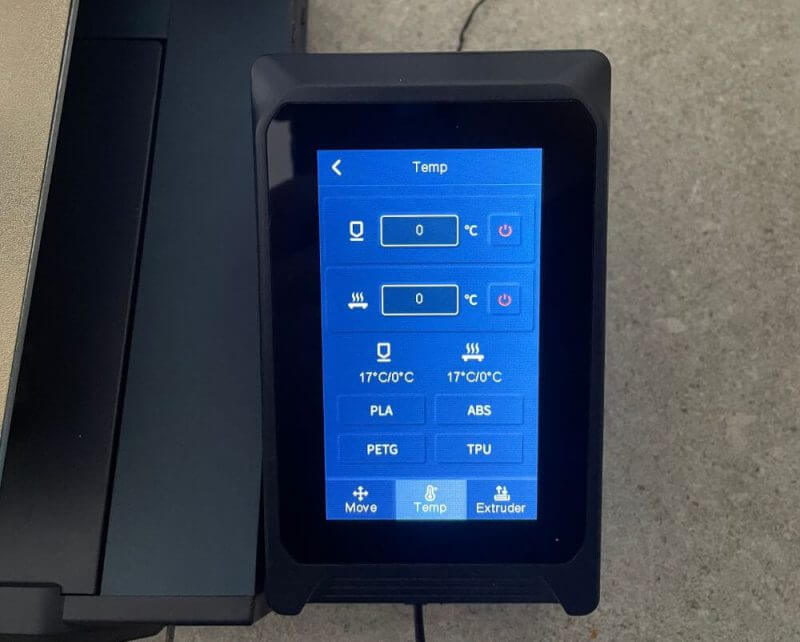
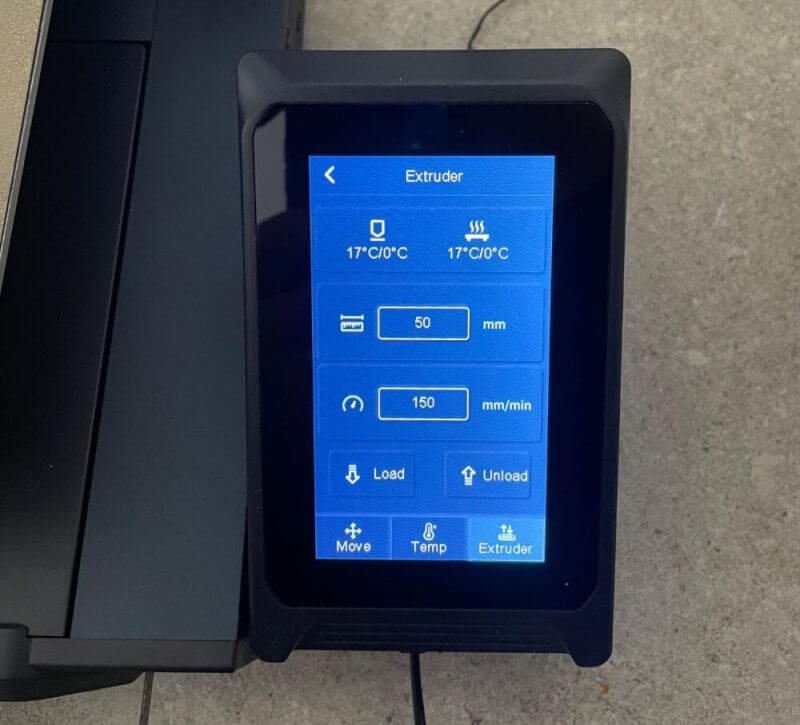
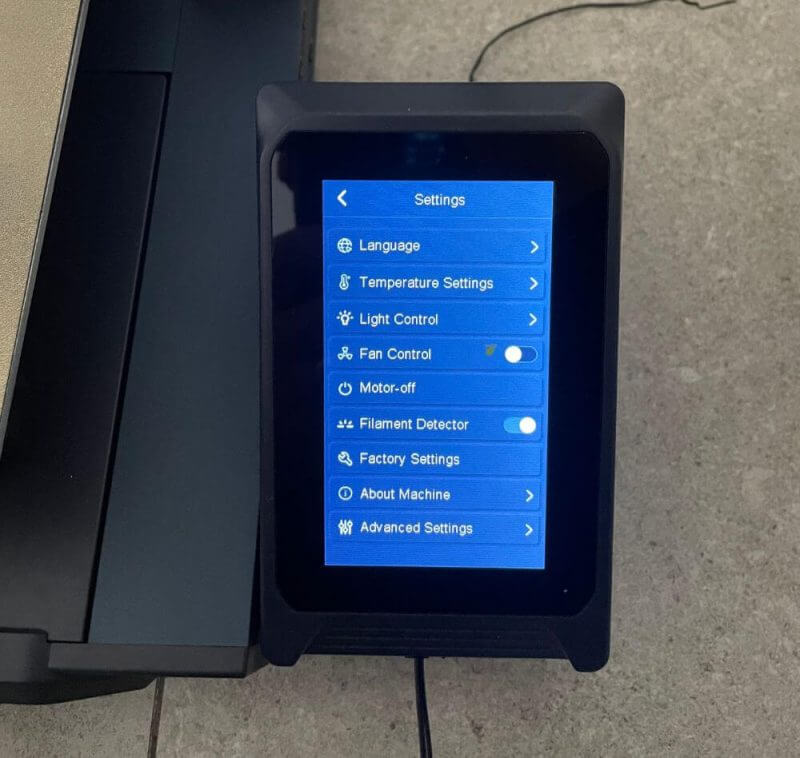
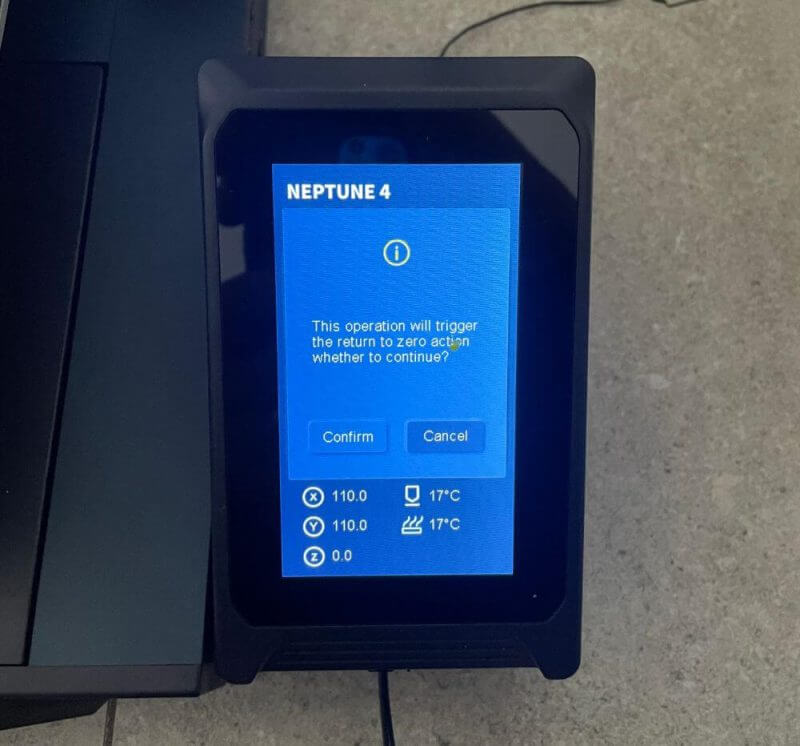
The touchscreen and menu of this 3D printer are similar to the Neptune 3 series. The screen is linked to the 3D printer base using a lengthy cable. It allows you to detach and operate it like a Smartphone.
The feature can become handy depending on the space on your work surface and how high you set the printer.
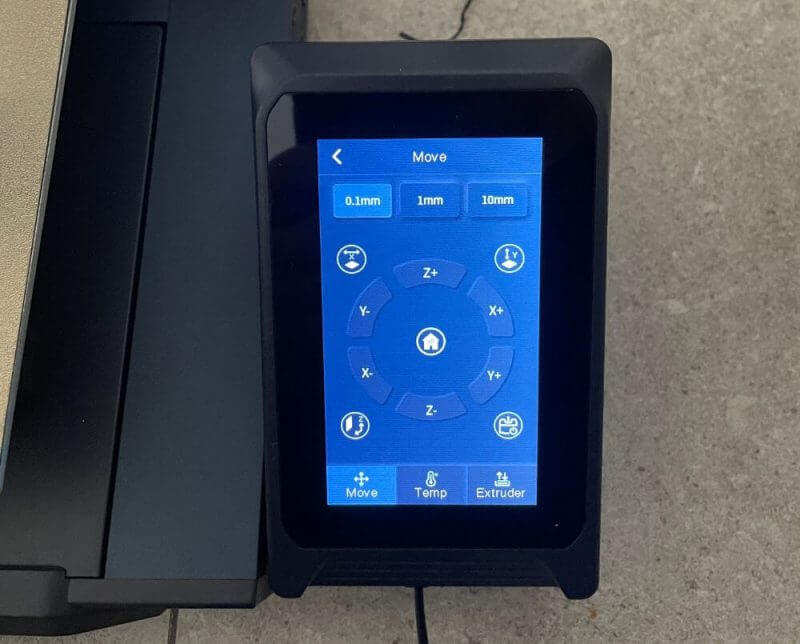
It has an intuitively-designed menu where you can find all essential functions with a few clicks. The print files are then saved as TFTs the displayed with preview images of the items on its menu.
While printing, you can observe your progress and all essential settings on the display. You can adjust specific settings like speeds, temperatures and the Z-offset. Moreover, you can also manage the LEDs during printing.
What makes this printer an ideal option for beginners and pro users alike? Continue reading our Elegoo Neptune 4 3D Printer Review and learn about all the elements that make this product click.
Key Features of the Elegoo Neptune 4 3D Printer
Klipper Integrated
The Neptune 4 3D printer boosts print efficiency and speed with its pre-installed Lipper firmware. It lets you reach maximum print speeds as high as 500mm/s, compensating for the print head vibrations. With the X-axis fan system, both of these can achieve top-notch print speeds.
Top-notch printing Experience
Printing with this product is pleasant since it offers several features that are practical, convenient, and efficient for your workflow.
Quiet and Stable Precision
We experienced precise and quiet printing while testing the product for our Elegoo Neptune 4 3D Printer Review. Thanks to the smooth POM V-guide, silent drivers and dual-led screw design for optimised stability and accuracy.
Dual-Gear Direct Extrude
The recently developed dual-gear direct drive extruder boasts an impressive 5.2:1 reduction ratio. It guarantees robust extrusion capabilities and seamless filament feeding.
It has a copper-titanium, all-metal throat pipe and an innovative air duct design. These elements effectively enhance heat dissipation while minimising the risk of nozzle blockage.
300-degree High-temp Nozzle
You can melt the filament with an extended hot end and 300-degree high-temp nozzle. Plus, you can flow out uniformly despite high-speed printing.
The Neptune 4 can work with materials like PETG, PLA, TPU, and ABS. It can also handle nylon and other high-temp filaments.
Automatic Bed Levelling
The feature guarantees precise and quick build platform levelling. You can use the hand-twist knob for aux-levelling, making it perfect for first-layer printing. Moreover, the PEI magnetic platform offers easy removal for printed models with a slight bend.
Efficient + Instant Cooling with the Elegoo Neptune 4 3D Printer
This printer features two thick, double-sided cooling fans that produce powerful air for more efficient heat dissipation. It also features 4x 4020 ball-bearing blower fans for fast cooling down of freshly deposited models. You can find it behind the print head to guarantee excellent quality even during fast print speeds.
Removable Capacitive Touchscreen and LED Lights
We also loved this specific feature we discovered while writing our Elegoo Neptune 4 3D Printer Review.
The Neptune 4 has a 10.9cm removable capacitive touchscreen. It works hand-held or affixed to the printer base and features a model preview and pause printing function for convenience.
Aside from the touchscreen, it has multiple lighting to make working in dark environments easier. These include the LED strip of the gantry has a hood and 30 beads, and LED light on the nozzle.
Specifications
- Frame Material: CNC machined aluminium extrusion
- Modelling Technology: FDM or Fused Deposition Modelling
- Printing Speed: 30-500mm/s (Suggested Speed: 250mm/s)
- Forming Size: 225 x225 x 265mm (mm³)
- Rated Voltage: 100-240V 50/60Hz
- Equipment Dimensions: 475 x 445 x515mm
- PEI Magnetic Platform Area Size: 235 x 235mm
- Maximum Hotbed Temperature: 110 degrees Celsius
- Maximum Nozzle Temperature: 300 degrees Celsius
- Connection Method: USB, WLAN
- File Format: .stl, .obj, .amf
- File Transfer: online printing, TF Card offline printing,
- Filament Compatibility: ABS, PLA, TPU, Nylon, Wood, PETG, Marble, etc
- Resume printing: Yes
- Filament Detection: Yes
- Net Weight: 8.3KG
- Available Languages: English, German, Japanese, Russian, Chinese, Spanish, French, Italian
Hands-on with the Elegoo Neptune 4 3D Printer
To experience the excellent performance of this printer, we used it for a week to see how it produces prints.
So now, we will share our experience with it in this Elegoo Neptune 4 3D Printer Review. To start, let us discuss how easy it was to assemble.
Elegoo Neptune 4 3D Printer Assembly
Assembling was a breeze because the company designed it to have an easy assembly. It has a magnetised built plate on its hotbed, while its pre-assembly x gantry is attached securely to its frame.
However, you must ensure proper positioning to complete its setup.
For its hand-held display, it is only a connector away from integrating with the main assembly of the printer.
In essence, the process of assembling the printer can be broken down into these steps:
- You will need four bolts to connect its vertical axis to the base.
- Next, connect its four print bed fans to the X-gantry rear via three bolts.
- Connect the filament run-out sensor and spool holder at the top.
- Now, you can fix the screen bracket and position its detachable magnetic screen to the holder.
- Once done, make all the connections between the motors and base unit, fans, limit switches, and filament sensors.
- Connect the power supply to use the printer.
Fortunately, these steps are straightforward to manage.
Regarding electronics, we found each wire for the sensors and motors well-placed around the machine. Plus, the cables have distinct labels and unique connector sizes. As a result, connecting components is more convenient.
Also, note that the X and Y-axis belts may have become loose during shipment. After assembling the Neptune 4, tightening these using the respective belt tensioners is best. If the tension strength is not enough, it may cause layer shifting.
However, tension should not be too overwhelming since belts can wear out or tear quickly. The rough rule is it should make a high-pitched sound when flicked like a guitar string.
Klipper
Klipper is the integrated firmware in the Neptune 4 to allow high-speed printing. It is accessible from your computer if you connect the Neptune 4 to the network with a LAN cable.
Entering its IP address in the internet browser will land directly in the Klipper browser window. From there, you can control and monitor the printer.
The Neptune 4 runs Klipper, a firmware that is becoming more popular for its features that make print quality better. These include Pressure Advance and Input Shaping.
Pressure Advance prevents under-extrusion, stringing, and other common printing errors from occurring, and it also optimises filament flow. It is a handy feature, especially when working with high print speeds.
Input Shaping, however, prevents common errors at high print speeds. The printer has an acceleration sensor in the print head to register vibrations during movements. With the slicing software, you can control the print head acceleration to prevent strong vibrations from occurring.
3D printers have mechanical components that allow high printing speeds. However, the strong accelerations led to unusable print results. In FDM 3D printers, the standard ranges from 40 to 60mm/s.
With Input Shaping, the Neptune 4 can operate at 250 and 500mm/s printing speeds.
Elegoo Cura Software
Elegoo customised a copy of Cura as a slicer software you can use to prepare prints. In our tests, this software worked well. It is one of the best slicers we have used.
With Elegoo Cura, you can use integrated profiles and start printing immediately. If you are more experienced, you can access all print settings and tune each to fit your needs and preferences.
Aside from the Elegoo version of Cura, the Neptune 4 also works with PrusaSlicer and the original Cura software.
We made several prints to test the performance and print quality of the Neptune 4.
With high printing speeds, the models were flawless and even. During the printing process, we were already impressed with its quality. The prints had no unwanted lines, and the XY accuracy was excellent.
Also, the dual Z-axis improved the accuracy and stability of the Neptune 4. It effectively prevented vibration, resulting in accurate print results.
We also did not experience any printing errors during our product tests. This printer shines in all areas and is excellent if the medium print volume is enough for you.
The Neptune 4 is one of the best entry-level 3D printers today due to its superior print quality. Plus, it has many features that make printing convenient and more enjoyable.
When printing, one of the common issues we experience is poor print bed adhesion, but Neptune 4 solved this problem. We were satisfied with the PEI surface that worked well with most filaments. With its flexibility, we did not need a spatula to peel off finished prints since they came off quickly.
Elegoo Neptune 4 3D Printer Review Summary
The Neptune 4 from Elegoo is an excellent FDM 3D printer for beginners since it is user-friendly. It delivers adequate print quality without needing to tweak many settings. Plus, its reliability is ideal for advanced users.
This 3D printer is a sleek product, but it is not all about the looks. It has adequate power, cooling fans, and fast printing speeds, and each of these make high-quality prints. During our tests for this Elegoo Neptune 4 3D Printer, we had an enjoyable user experience with the product.
The best thing about this printer is its user-friendliness. Clearing the print bed, changing the filament, and starting new prints is easy due to its innovative features. With its touchscreen display and replaceable nozzles, everything is under your control.
Aside from its features, its Klipper integration makes the Neptunen 4 highly impressive. We also like its remote monitoring and networking abilities, which made print management easier. Overall, we highly recommend this product for beginners and advanced 3D printers.
Visit the official product page of Elegoo for more details about the Neptune 4 3D Printer.

