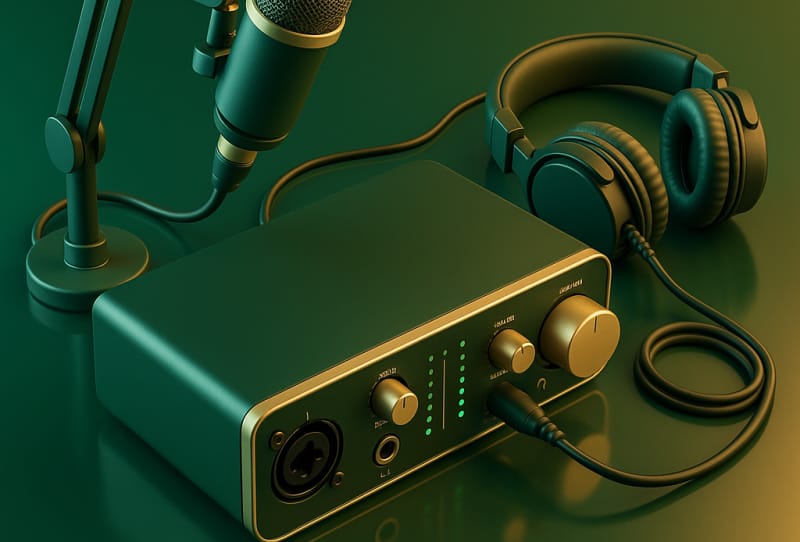
Choosing the right audio interface for podcasting is one of the most important decisions you’ll make when setting up a home studio, because it sits between your microphone and your recording software and shapes how clean, warm and consistent your voice sounds. This guide is for anyone starting a podcast at home, whether you’re recording solo, with a co-host, or bringing in remote guests, and it walks through exactly what to check before you commit to a piece of gear.
Table of Contents
What you’ll need
- A computer running your chosen recording or editing software
- One or more XLR microphones (dynamic mics are common for spoken word, such as those made by Rode)
- Closed-back headphones for monitoring while you record
- XLR cables and a USB or Thunderbolt cable to connect the interface to your computer
- A quiet recording space with minimal echo
Step 1: Work out how many channels you actually need
- Count how many people will speak into a separate microphone at the same time in your usual recording setup, including any regular co-host.
- Add one extra channel if you occasionally record a guest in person, rather than remotely.
- Avoid buying far more inputs than you need just in case, since unused preamps add cost and desk space without any real benefit.
- If you record video alongside audio, check whether you’ll need a spare channel for a separate ambient or backup microphone.
Step 2: Check the quality of the preamps and gain range
- Look for an interface with enough clean gain to properly drive the type of microphone you own, since dynamic microphones typically need more gain than condenser microphones.
- Check whether the interface offers phantom power, usually labelled as 48V, which is required if you plan to use a condenser microphone.
- Read up on the preamp’s noise floor where possible, since a noisy preamp introduces hiss that becomes obvious once you turn up the gain for a quieter speaker.
- If your budget allows, prioritise preamp quality over extra features, because clean gain has the biggest impact on how professional your recordings sound.
Step 3: Confirm connectivity and compatibility with your computer
- Check whether the interface connects via USB-A, USB-C or Thunderbolt, and confirm your computer has a matching port or that an adaptor is supported.
- Verify the interface is compatible with your operating system, and check whether it needs a dedicated driver or works as a standard class-compliant USB device.
- If you plan to record remote guests through a call, check whether the interface supports loopback or a similar feature that lets you capture both your microphone and the caller’s audio cleanly.
- Consider portability if you plan to record outside your home studio occasionally, since bus-powered interfaces that don’t need a separate power supply are easier to travel with.
Step 4: Plan how you’ll monitor your recording
- Choose an interface with at least one dedicated headphone output so you can hear yourself and any guests in real time without noticeable delay.
- Use wired, closed-back headphones for monitoring rather than wireless earbuds, since Bluetooth audio introduces latency that makes it hard to hear your own voice in sync while speaking.
- Be aware that consumer wireless earbuds and open-ear designs, including options like AirPods 5 with noise cancellation, or open-ear styles such as the OpenRun Air 2 and OpenFit Air 2, are convenient for casual listening but are not built for the split-second monitoring accuracy that recording requires.
- If you eventually want reference-grade monitoring for detailed audio editing, some engineers use specialist in-ear monitors such as the 64 Audio Ocean, though a good pair of open-back headphones designed for long listening sessions is a more practical choice for most home podcasters.
Step 5: Weigh up extra features against your actual workflow
- Check whether the interface includes onboard controls like a mute button, direct monitoring switch, or simple gain indicators, which make live recording sessions smoother.
- Look at whether the interface bundles any recording or editing software, or plan to pair it with free recording software such as Audacity.
- Think about long-term storage for your growing library of raw recordings and exported episodes, and consider whether you’ll want to set up a NAS at home to keep files backed up and organised.
- Compare a shortlist of models from established interface manufacturers like Focusrite or similar brands, focusing on the channel count and preamp quality you settled on in earlier steps rather than marketing extras.
Comparing common interface types for podcasting
| Interface type | Typical channel count | Best suited for |
|---|---|---|
| Single-input interface | 1 XLR/instrument input | Solo podcasters recording one microphone |
| Two-channel interface | 2 XLR inputs with independent gain | Co-hosted shows or one host plus one in-person guest |
| Four-channel interface | 4 XLR inputs | Regular panel shows or multiple in-person guests |
| USB microphone (interface built in) | 1 microphone, no separate mic needed | Simple solo setups where flexibility matters less than convenience |
Tips and troubleshooting
- If recordings sound quiet even at high gain, check that phantom power is switched on for condenser microphones and that cables are fully seated.
- Persistent background hum often points to a ground loop, which can usually be fixed with a different power outlet or a dedicated ground loop isolator.
- If your computer doesn’t detect the interface, try a different cable or port before assuming the hardware is faulty, since USB cables and hubs are common culprits.
- Keep gain levels moderate and consistent across all channels so that levelling in post-production is easier and cleaner.
Frequently asked questions
Do I need an audio interface if I already have a USB microphone?
Not necessarily. A USB microphone has a built-in interface, which works well for a single host recording alone. A separate audio interface becomes useful once you add a second microphone, want better preamps, or need more flexible monitoring and connection options.
Can I use a laptop’s built-in audio for podcasting instead of an interface?
Technically yes, but built-in laptop audio inputs are generally designed for basic tasks like video calls rather than professional recording, and they usually lack the gain, low noise floor and phantom power that XLR microphones need to sound their best.
How many inputs should a beginner’s audio interface have?
Most solo podcasters do well with a single-input interface, while co-hosted shows are usually better served by a two-channel model. It’s generally wiser to buy for your current needs and upgrade later than to overspend on unused inputs from day one.
Does the audio interface affect sound quality more than the microphone?
Both matter, but the microphone generally has a bigger influence on tone and character, while the interface’s preamps determine how clean and quiet that signal stays once it’s amplified. A quality microphone paired with a weak preamp will still sound noisy or thin.