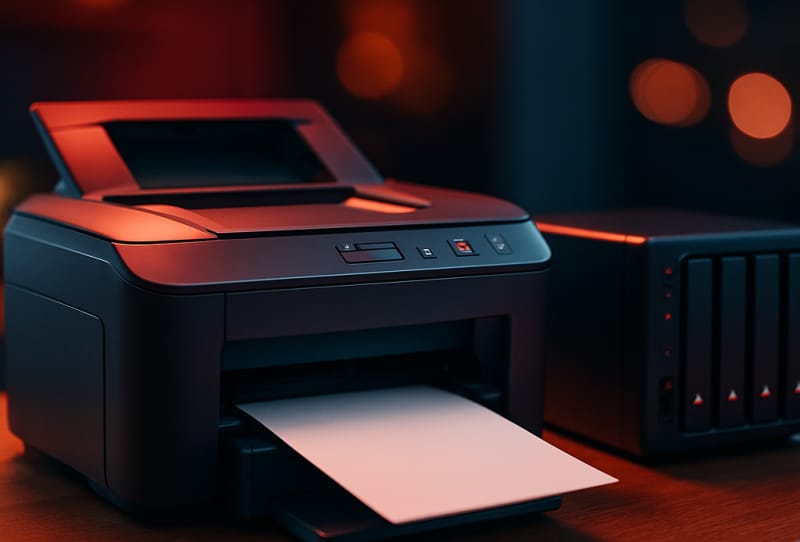
Setting up NAS network printing and scanning turns your network-attached storage device into a shared print server, so every computer, tablet, and phone on the network can send jobs to the same printer without anyone plugging in a cable. This guide is for anyone with a NAS from brands such as Synology, QNAP, or Asustor who wants to stop passing a USB printer between desks and instead share it centrally, along with scanning where the printer supports it.
Table of Contents
What you’ll need
- A NAS device with a free USB port and a print server feature in its operating system
- A USB printer or all-in-one printer/scanner (network-ready printers with their own Ethernet or Wi-Fi connection do not need this setup)
- Administrator access to your NAS control panel
- Computers or devices connected to the same local network as the NAS
- The printer’s driver files, in case your NAS doesn’t detect it automatically
Connect the printer to your NAS
- Turn off the printer, then connect it to a free USB port on the NAS using the printer’s USB cable.
- Power the printer back on and give it a minute to be recognised by the NAS.
- Log into your NAS control panel from a web browser using its IP address or local network name.
- Open the printer or peripheral management section of the NAS operating system. On most NAS platforms this sits under a name like “Printer” or “External Devices” within the control panel.
- Confirm the NAS has detected the printer. It should appear with its model name and connection status listed as active.
- Enable the print server or printer sharing option, which usually offers a choice of sharing protocols such as AirPrint, LPR/LPD, or Windows-based sharing (sometimes labelled Samba printing).
Set up printing from Windows, Mac, and mobile devices
- On a Windows PC, open the printer settings and add a new printer, choosing the network or Bluetooth printer option rather than USB. If your NAS is discoverable, its shared printer should show up in the list; otherwise, add it manually using the NAS’s IP address and the LPR protocol.
- On a Mac, open System Settings, go to Printers & Scanners, and add a printer using the IP option, entering the NAS address and selecting the correct protocol and driver.
- On iOS or Android devices, most modern printers and NAS print servers support AirPrint or Mopria-style discovery, so the shared printer should simply appear when you try to print from an app.
- Install the manufacturer’s driver on each computer if the NAS doesn’t provide a generic one automatically, since correct driver matching avoids blank pages or formatting errors.
- Print a test page from each device to confirm the connection works before relying on it day to day.
Set up scanning through the NAS
- Check whether your NAS operating system includes a dedicated scan utility or app, since not all NAS print server features extend to scanning.
- If supported, install the scanning app or enable the scan function from the same control panel section used for the printer.
- Configure a destination folder on the NAS where scanned files should be saved, and set a file format such as PDF or JPEG.
- From the printer’s control panel (on an all-in-one unit) or from the NAS scan utility, initiate a test scan and confirm the file lands in the correct shared folder.
- If you want scanned files backed up automatically, point the scan folder to a location covered by your existing NAS backup routine.
Once printing and scanning are working, it’s worth confirming the rest of your network shares are set up properly too, since printer sharing relies on the same underlying network protocols used for file access. The guide on setting up NAS network shares and SMB access covers that groundwork in more depth, and if you’re on a Windows-heavy household, enabling network discovery on Windows 11 will make the shared printer easier to find. Newcomers to NAS in general may want to start with setting up a NAS at home before layering on printer sharing.
Tips and troubleshooting
- If the NAS doesn’t detect the printer, try a different USB port or cable, and check that the printer isn’t in a sleep or power-saving mode during setup.
- Some multifunction printers need their scanner driver installed separately from the print driver, so check both are present on each device.
- If print jobs queue but never print, restart the NAS print service (rather than the whole NAS) from the control panel before rebooting the device entirely.
- Keep firmware on both the NAS and printer reasonably current, since outdated firmware is a common cause of dropped connections on shared printers.
- For offices with several printers, label each shared queue clearly in the NAS control panel so users pick the right one.
- Consult Synology’s official printer server documentation or QNAP’s official tutorials if a specific error message appears, since the wording differs between NAS brands and firmware versions.
Frequently asked questions
Can any USB printer work with a NAS print server?
Most standard USB printers work, but very new or highly proprietary all-in-one models sometimes lack compatible drivers on NAS operating systems. Checking your NAS manufacturer’s compatibility list before buying a printer specifically for this purpose saves frustration.
Do I need to install drivers on every device that prints?
Usually yes, unless the NAS and printer both support driverless protocols like AirPrint or generic PostScript. Windows and Mac computers typically need the manufacturer’s driver installed locally even when the printer itself is shared through the NAS.
Why does the printer show as offline even though it’s connected to the NAS?
This is usually a network discovery or IP address issue rather than a hardware fault. Confirm the NAS has a static or reserved IP address on your router, and re-add the printer on the affected device using that fixed address, as covered when enabling network discovery on Windows 11.
Can I scan directly to my phone instead of a NAS folder?
Some all-in-one printers support scanning straight to a mobile app using AirPrint or Mopria, bypassing the NAS entirely. Apple’s AirPrint support page outlines which features are supported on compatible printers if you want scans to land on an iPhone or iPad directly.