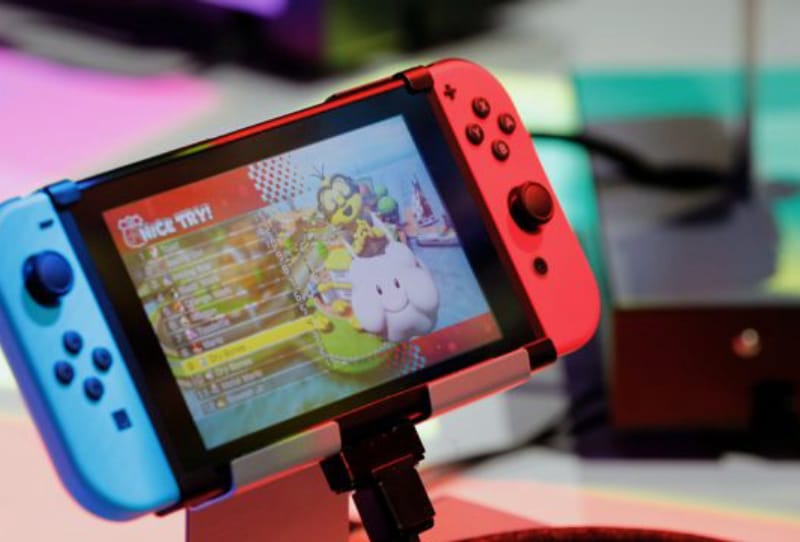
Setting up a Nintendo Switch on your TV takes only a few minutes once you know the order to do things in. This guide walks you through connecting the dock, plugging in the right cables, getting picture on screen, and finishing the on-console setup so you are ready to play in handheld or docked mode. It suits anyone unboxing a new Switch for the first time or moving an existing console to a new television.
Table of Contents
What you’ll need
- Nintendo Switch console and dock
- The HDMI cable that came with the dock (or any standard HDMI cable)
- The AC adapter supplied with the console
- A free HDMI input on your television
- Joy-Con controllers (attached to the console or in the Joy-Con grip)
- A home Wi-Fi network for online setup and updates
Connecting the dock to your TV
- Open the back cover of the Switch dock to reveal the ports.
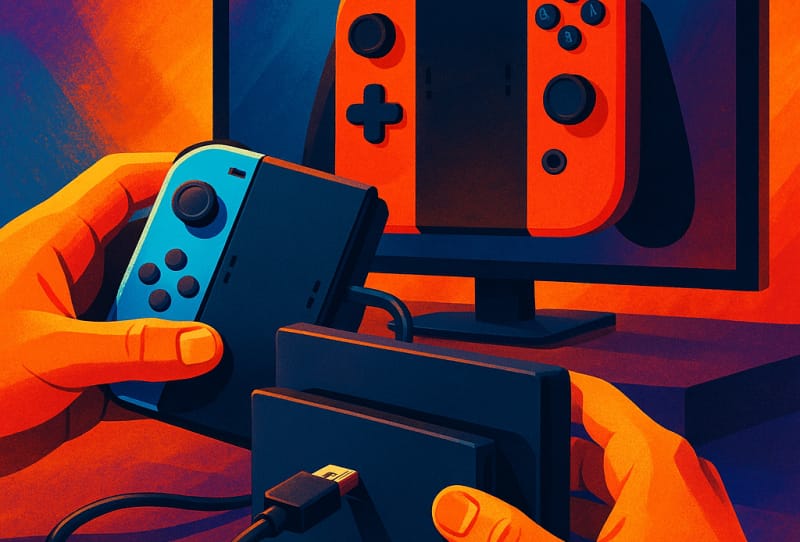
- Plug one end of the HDMI cable into the HDMI output port inside the dock, and the other end into a free HDMI input on your television.
- Connect the AC adapter to the USB-C power port on the dock, then plug the adapter into a wall outlet.
- Close the dock’s back cover once both cables are secured, leaving the front open so you can slide the console in and out.
- Place the dock somewhere with good airflow, ideally upright and not squeezed against other equipment, since the console can run warm while docked.
Docking the console and switching TV input
- Turn on your television and use the remote to select the HDMI input the dock is connected to. Most TVs label inputs like HDMI 1, HDMI 2, and so on, so note which port you used in the previous step.
- Gently slide the Nintendo Switch console into the dock, screen facing outward, until it clicks into place.
- The console should power on automatically and display on your TV. If the screen stays black, check that the correct HDMI input is selected and that both cable ends are firmly seated.
- Attach the Joy-Con controllers to the console’s rails, or pair them separately if you plan to use the Joy-Con grip instead.
Finishing setup on the console
- Follow the on-screen prompts to choose your language and region.
- Connect to your home Wi-Fi network when prompted, entering the password for your router.
- Check for and install any available system update, since a fresh console often needs this before you can use online features or the eShop.
- Create or sign in to a Nintendo Account, which lets you download software updates, save data to the cloud, and access online play.
- Set the console’s date, time, and any parental control preferences if the Switch will be used by children.
- Insert a game cartridge or launch an installed title to confirm that video and audio are coming through the TV correctly.
Tips and troubleshooting
- If the TV shows “no signal,” try a different HDMI port on the television and confirm the HDMI cable is firmly plugged into both the dock and the TV.
- A black screen with sound but no picture can often be fixed by removing the console from the dock, waiting a few seconds, and reinserting it.
- Some televisions need HDMI-CEC or a specific picture mode enabled to display consoles correctly; check your TV’s input settings if colours look washed out.
- Only use the official AC adapter with the dock, since third-party chargers can sometimes fail to provide enough power for stable docked play.
- If Joy-Cons will not connect, hold down the small sync button on the side of each controller and try pairing again through the console’s controller menu.
- Keep the dock away from direct sunlight and other heat sources, as excess heat can affect performance during longer play sessions.
Frequently asked questions
Do I need an internet connection to set up a Nintendo Switch?
You can complete the basic setup offline, but you will need Wi-Fi to install system updates, create a Nintendo Account, download games from the eShop, and use online multiplayer features.
Can I use any HDMI cable with the Switch dock?
Yes, a standard HDMI cable works, though using the cable supplied with the dock is the simplest option since it is already the correct length and specification for the console.
Why does my Switch show a different picture in handheld mode versus docked mode?
Docked mode outputs at a higher resolution to suit larger TV screens, while handheld mode renders at a lower resolution suited to the console’s built-in display, so slight visual differences are normal.
What if my TV does not detect the Switch dock at all?
Double check the HDMI cable is fully inserted at both ends, try a different HDMI input on the TV, and confirm the dock’s AC adapter is connected and providing power, since the dock needs external power to output video.
Once everything is connected and updated, you are set up to explore your console’s library, including recently announced Switch 2 bundle announcements, games that now support Switch 2, and upcoming titles heading to Switch 2. If you are also comparing this setup process to other devices around the home, it can help to see how setting up a gaming PC compares in terms of cabling and first-time configuration. For further detail straight from the manufacturer, Nintendo’s official setup guide covers hardware specifics for your exact console model.