Setting up a gaming console in your bedroom takes a bit more thought than just plugging it into the nearest power point. Between cable clutter, ventilation, screen glare, and getting a stable internet connection, a bit of planning goes a long way. This guide walks you through the whole process, from choosing where the console sits to getting it online and ready to play, so your bedroom setup feels tidy and works reliably.
Table of Contents
What you’ll need
- Your gaming console and its power cable
- An HDMI cable (usually included with the console)
- A TV or monitor with an available HDMI input
- A power board or wall outlet near your setup area
- A wireless router or Ethernet cable for internet access
- A media unit, desk, or shelf sturdy enough to hold the console and TV
- Controllers and any charging cables they need
Choose the right spot in your room
- Pick a wall or corner where you can position the TV at roughly eye level when seated or lying down, since looking up or down for long sessions strains your neck.
- Keep the console within reach of a power outlet, ideally without running cables across walkways or under rugs where they can be a trip hazard.
- Avoid placing the TV directly opposite a window if you can help it, as glare from daylight makes the screen harder to see, particularly during the day.
- Leave a gap of at least a few centimetres behind and around the console for airflow. Consoles generate heat during long play sessions, and cramming one into a closed cabinet can cause it to overheat and throttle performance.
Set up the TV and console connection
- Mount or place the TV securely on a stand or wall bracket rated for its weight.
- Position the console on a flat, stable surface near the TV, orientated according to the manufacturer’s guidance (some consoles support both horizontal and vertical positioning, others are fixed).
- Connect the HDMI cable from the console’s HDMI output to a free HDMI input on the TV.
- Plug the console’s power cable into a wall outlet or surge-protected power board.
- Turn on the TV and switch to the correct HDMI input source, then power on the console.
If you run into signal issues, resolution problems, or need more detail on cable types and input settings, this guide on how to connect your console to a TV covers the process in more depth.
Connect to the internet
- Decide between a wired Ethernet connection or Wi-Fi. Ethernet generally gives a more stable connection with less lag, which matters for online multiplayer games and downloading large game files.
- If using Wi-Fi, open the console’s network settings and select your home network from the list, then enter your Wi-Fi password when prompted.
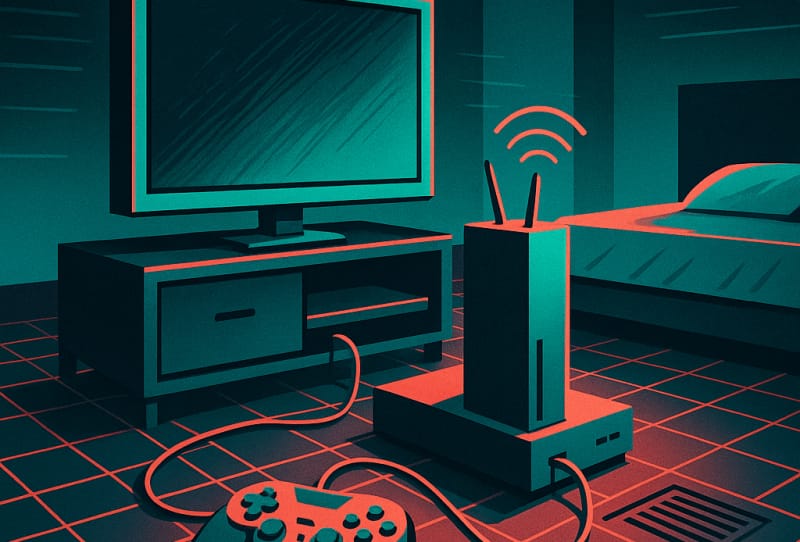
- If using Ethernet, run a cable from your router to the console’s Ethernet port. This is especially useful in a bedroom that’s far from the router, where Wi-Fi signal can be weaker.
- Run a connection test through the console’s settings menu to confirm you have a stable internet connection before signing in to your account.
A stronger connection also makes it easier when you later want to download games on your console, since large updates and installs rely on steady bandwidth.
Manage cables and reduce clutter
- Group the power cable, HDMI cable, and any accessory cables together with cable ties or velcro straps to stop them tangling.
- Run cables along the back or underside of furniture rather than across open floor space.
- Use a power board with enough spaced-out sockets for the console, TV, and any accessories such as a soundbar or charging dock.
- Label cables if you have multiple devices connected, so you know which lead belongs to what if you ever need to move things around.
Set up controllers and accounts
- Turn on your controller and pair it with the console, either via Bluetooth or a cable, following the on-screen prompts.
- Charge controllers fully before your first session, and consider a charging dock or stand if you own more than one.
- Sign in to your console’s user account, or create a new profile if this is a fresh setup, so your saved games and preferences are tied to you.
- Adjust display settings such as resolution and screen size to match your TV, and enable any night mode or brightness settings that suit a bedroom environment for late-session comfort.
Tips and troubleshooting
- If the screen shows no signal, double check the TV is set to the correct HDMI input and the cable is firmly seated at both ends.
- Keep the console away from doonas, pillows, or enclosed shelving that can trap heat and cause it to run hotter than normal.
- If Wi-Fi feels unstable in your room, try moving the console closer to the router’s line of sight, or run an Ethernet cable if that’s practical.
- Use a surge-protected power board rather than a basic power board, since it helps protect your console and TV from power spikes.
- If you’re building out a broader setup, it’s worth checking your console sharing settings on the Xbox app if you plan to share your library across accounts or devices.
Frequently asked questions
Do I need Ethernet for a console in my bedroom?
Not necessarily. Wi-Fi works fine for most single-player and casual gaming, but Ethernet gives a steadier connection for online multiplayer and large downloads, particularly if your bedroom is far from the router.
Where’s the best place to put a console in a small bedroom?
Choose an open shelf or media unit near your TV with clear airflow around the console. Avoid enclosed cabinets unless they’re ventilated, since heat build-up can affect performance over time.
Can I use a monitor instead of a TV?
Yes, many consoles work fine with a monitor as long as it has an HDMI input and supports a resolution the console outputs. Just check the monitor has built-in speakers or plan for external speakers or a headset, since not all monitors include audio output.
How do I stop cables looking messy in a small space?
Use cable ties, adhesive clips, or a cable sleeve to bundle leads together and run them along furniture edges rather than across the floor. A power board mounted or tucked behind the TV stand also helps keep things tidy.