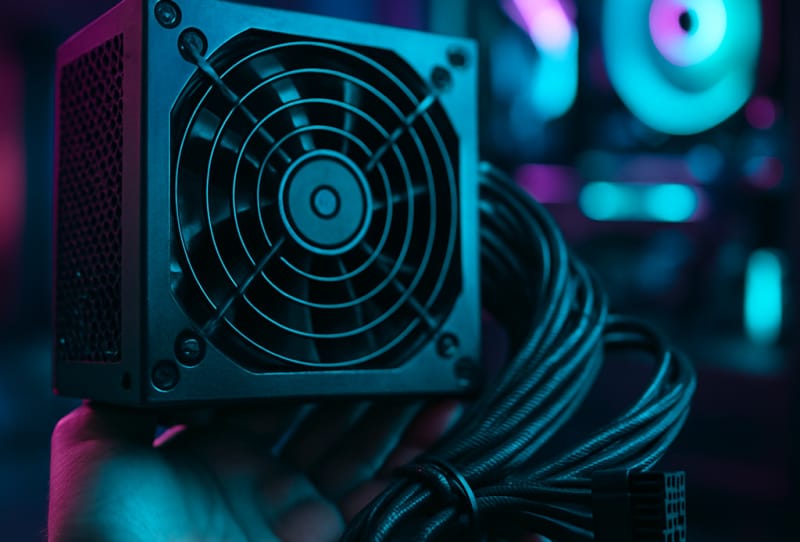
Choosing a power supply for your gaming PC is one of those tasks that is easy to underestimate. It is not as exciting as picking a graphics card or processor, but it quietly determines whether the rest of your build runs safely and reliably. This guide walks you through how to choose a power supply for your gaming PC, covering wattage, efficiency, connectors and the other details that actually matter, so newcomers and upgraders alike can pick with confidence.
Table of Contents
What you’ll need
- A list of the components you plan to run, especially your graphics card and processor
- The maximum power draw figures for those components (usually listed on the manufacturer’s product page)
- Your PC case’s supported power supply form factor
- An idea of your budget-independent priorities, such as quiet operation, cable management or future upgrades
Step 1: Work out how much power your system actually needs
- List every major component in your build, including the graphics card, processor, motherboard, drives, RAM and any fans or lighting.
- Check the rated or recommended power draw for your graphics card and processor, since these two parts consume the bulk of your system’s power.
- Use a PSU wattage calculator, such as the official PSU wattage calculator, to get a realistic estimate based on your specific components.
- Add some headroom above that estimate, generally somewhere in the order of 20 to 30 percent, to account for power spikes under load and to leave room for future upgrades.
Step 2: Understand efficiency ratings
- Look for a power supply with an 80 PLUS certification, which indicates how efficiently the unit converts wall power into usable DC power for your components.
- Recognise the tiers, which run from White up through Bronze, Silver, Gold, Platinum and Titanium, with each step up representing better efficiency and typically less wasted heat.
- Pick a tier that suits your needs. A Bronze or Gold rated unit is a sensible middle ground for most gaming builds, while Platinum and Titanium suit systems that run demanding hardware for long stretches or where lower running heat is a priority.
Step 3: Decide on modularity and form factor
- Choose between non-modular, semi-modular and fully modular designs. Non-modular units have all cables permanently attached, semi-modular units include the essential cables fixed with the rest detachable, and fully modular units let you attach only the cables you need.
- Favour a modular or semi-modular unit if tidy cable management matters to you, since unused cables can be left out of the case entirely.
- Confirm the form factor matches your case. ATX is the standard size for most full and mid-tower builds, while SFX and SFX-L are designed for small form factor cases. Check this against the specifications when choosing the right gaming PC case so the two are compatible from the start.
Step 4: Check the connectors you’ll actually need
- Confirm the unit includes a 24-pin main motherboard connector and at least one 8-pin (or 4+4 pin) EPS connector for the CPU, since some higher-end motherboards need two.
- Check how many PCIe power connectors your graphics card requires, and in what configuration. Many modern high-end GPUs need multiple 6+2 pin connectors or a dedicated high-power connector, so confirm this against your card’s actual specification rather than assuming.
- Count up your SATA and Molex connector needs for drives, fans and other accessories, and make sure the PSU has enough of each.
Step 5: Look at build quality and reliability features
- Check for basic protection features, including over-voltage, over-current, short-circuit and over-temperature protection, which are standard on reputable units and help protect your other components if something goes wrong.
- Favour brands with a solid track record in the power supply market and a reasonable warranty period, since a PSU failure can potentially damage everything connected to it.
- Read up on the internal components where possible, such as capacitor quality, as these often correlate with long-term reliability more than the wattage number on the box.
Tips and troubleshooting
- Do not buy the bare minimum wattage for your current build. Extra headroom protects against power spikes and gives you room to upgrade your graphics card later without needing a whole new PSU.
- If your PC randomly shuts down or restarts under heavy gaming load, an undersized or ageing power supply is a common culprit worth investigating.
- Avoid extremely cheap, unbranded units with no efficiency certification. The failure risk and potential for damage to other components generally outweighs any saving.
- Keep your PSU’s included cables and manual, since third-party or mismatched modular cables from a different brand or model are not guaranteed to be compatible.
- When in doubt about compatibility across your whole build, it helps to review a broader guide to choosing compatible gaming PC parts before finalising your purchase.
Frequently asked questions
How much wattage does a gaming PC actually need?
It depends heavily on your graphics card and processor, since these draw the most power. A calculator based on your exact components, combined with a healthy margin for headroom, gives a far more accurate answer than a generic rule of thumb.
Is a higher wattage power supply always better?
Not necessarily. A power supply only draws as much wattage as your components demand, so buying far more than you need mainly adds cost and unused capacity rather than performance. Reasonable headroom is useful, but excessive overkill is not.
Does the efficiency rating affect performance?
Efficiency ratings do not affect gaming performance directly, but a more efficient power supply wastes less energy as heat, which can mean lower running temperatures and a slightly reduced electricity draw over time.
Can I reuse an old power supply in a new gaming PC build?
You can, provided it still meets the wattage, connector and form factor requirements of your new components and has no signs of age-related wear. If you are unsure of its condition or history, it is generally safer to test your gaming PC components before assembly rather than risk it on a fresh build.