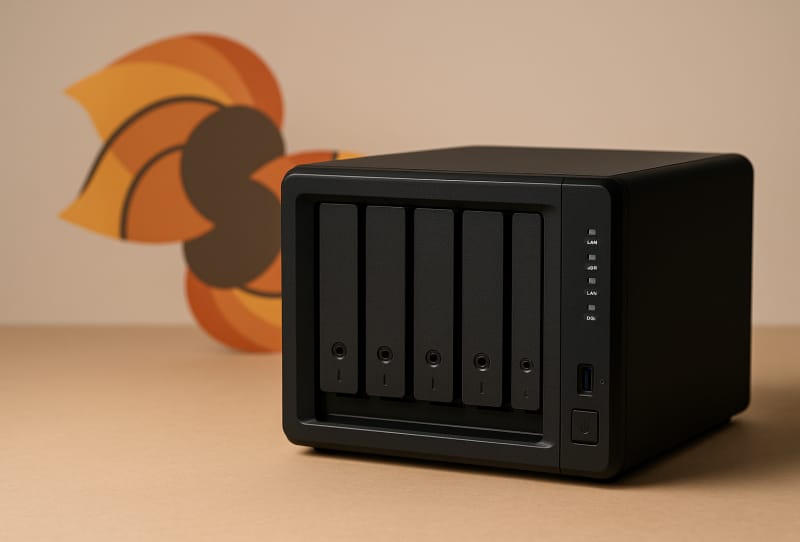
Accessing your NAS remotely over the internet means you can reach your files, backups, or media library from anywhere, not just when connected to your home network. This guide is for anyone who has already set up a NAS at home and now wants to open it up safely for use on the road, at work, or from a friend’s house.
There are three common ways to get this done: a cloud relay service built into the NAS software, a dynamic DNS (DDNS) hostname, or manual port forwarding on your router. Each has different trade-offs between simplicity and control, and you can even combine them depending on what you need.
Table of Contents
What you’ll need
- A NAS device that is already set up and connected to your home network
- Administrator access to the NAS’s management software
- Access to your router’s admin settings (for port forwarding or DDNS)
- A stable internet connection with a reasonably consistent IP address
- A NAS user account with a strong password and two-factor authentication enabled, if supported
If you haven’t yet finished the basic setup, it helps to first get the hardware connected and running. See the guide on connecting your NAS to your home router or the broader walkthrough on setting up a Synology NAS before tackling remote access.
Option 1: Use a built-in relay or QuickConnect-style service
Most modern NAS platforms include a cloud relay feature that lets you connect using a custom ID or link without opening any ports on your router. On Synology devices, this is called QuickConnect. It’s the simplest way to access your NAS remotely, especially for beginners, because the NAS vendor handles the routing for you.
- Log in to your NAS’s management interface (such as DSM on Synology) using an admin account.
- Open the control panel and find the external access or QuickConnect settings section.
- Enable the relay service and, if prompted, sign in with or create an account for the NAS maker’s cloud service.
- Choose a unique ID for your NAS. This becomes part of the address you’ll use to connect, for example a custom link ending in your chosen ID.
- Agree to the terms shown, then apply the settings and wait for confirmation that the ID is available and active.
- Review the advanced settings if you want to adjust which services or permissions are exposed through the relay.
- Test the connection by opening a browser on another network (such as your phone’s mobile data) and entering the address, or by logging in through the NAS maker’s mobile app using your chosen ID and account credentials.
Option 2: Set up a DDNS hostname
Dynamic DNS gives your NAS a fixed, memorable hostname (like a web address) even though most home internet connections have an IP address that changes from time to time. This is a good middle-ground option if you want more control than a relay service but don’t want to remember a numeric IP address.
- Open your NAS’s control panel and navigate to the external access or DDNS settings.
- Click to add a new DDNS entry.
- Select a service provider. Many NAS makers offer their own free DDNS hostname option, or you can use a third-party DDNS provider if you already have an account with one.
- Enter your desired hostname. If using a third-party provider, you’ll also need to enter the username, password or key, and external IP address associated with that account.
- Click the test connection option to confirm the settings work correctly.
- If using the NAS maker’s own DDNS service, consider enabling a free SSL certificate option so your connection is encrypted, and turn on any heartbeat or status alert feature so you’re notified if the hostname stops resolving correctly.
- Save the settings, then continue on to set up port forwarding, since DDNS on its own only handles the address, not the connection path into your network.
Once both DDNS and port forwarding are configured, you can access your NAS by typing the hostname into a browser, followed by a colon and the relevant port number for the service you’re using (for example, a specific port for a secure web login).
Option 3: Configure port forwarding on your router
Port forwarding tells your router to send incoming traffic on a specific port through to your NAS’s local IP address, rather than blocking it or sending it elsewhere. This is the most manual option, but it gives you the most control over exactly which services are reachable from outside your network.
- Find your NAS’s local IP address from within its network settings, and ideally set it to a fixed or reserved address so it doesn’t change later and break your forwarding rule.
- Log in to your router’s admin interface, usually through a web browser using its local IP address.
- Locate the port forwarding section, sometimes labelled virtual server or NAT forwarding.
- Create a new rule that maps an external port to your NAS’s internal IP address and the matching internal port for the service you want to reach (for example, the ports used for secure web access to the NAS interface).
- Repeat this for each additional service you want to access remotely, such as file access apps or media streaming tools, since each typically needs its own port.
- Save the changes and restart the router if required.
- Test access from outside your home network using your public IP address (or your DDNS hostname if configured) followed by the external port number.
Tips and troubleshooting
- If remote access suddenly stops working, check whether your internet provider has changed your public IP address, or whether you’ve recently replaced your router, since either can break existing DDNS or port forwarding settings.
- Always use HTTPS and a valid certificate for any remote login page, rather than an unencrypted connection, to protect your username and password in transit.
- Enable two-factor authentication on your NAS account wherever it’s offered, since remote access naturally increases exposure to automated login attempts.
- Avoid forwarding more ports than you actually need. Only open the specific ports for services you actively use remotely.
- If a connection test fails, double-check that the NAS’s firewall isn’t blocking the same port you’ve forwarded on the router.
- Keep your NAS operating system and applications updated, since remote access features are a common target for security patches.
Frequently asked questions
Is it safe to access my NAS over the internet?
It can be safe if you follow good security practices: use strong unique passwords, enable two-factor authentication, keep your NAS software updated, use encrypted connections, and only open the ports you actually need. Relay-style services like QuickConnect can be a lower-risk starting point since they avoid exposing your router directly.
Do I need a static IP address to access my NAS remotely?
No. A dynamic DNS hostname solves this problem by automatically updating to match your current public IP address, so you can use a fixed, memorable address even if your internet provider changes your IP from time to time.
What’s the difference between DDNS and port forwarding?
DDNS gives your network a consistent hostname to reach it by, while port forwarding is what actually directs incoming internet traffic on a chosen port through to your NAS. In most setups you need both working together, unless you use a relay service that handles this for you.
Can I access my NAS remotely without opening any ports on my router?
Yes. Built-in relay services, such as QuickConnect on Synology NAS devices, route your connection through the manufacturer’s servers rather than requiring you to open ports directly on your home router, which makes setup simpler for less technical users.