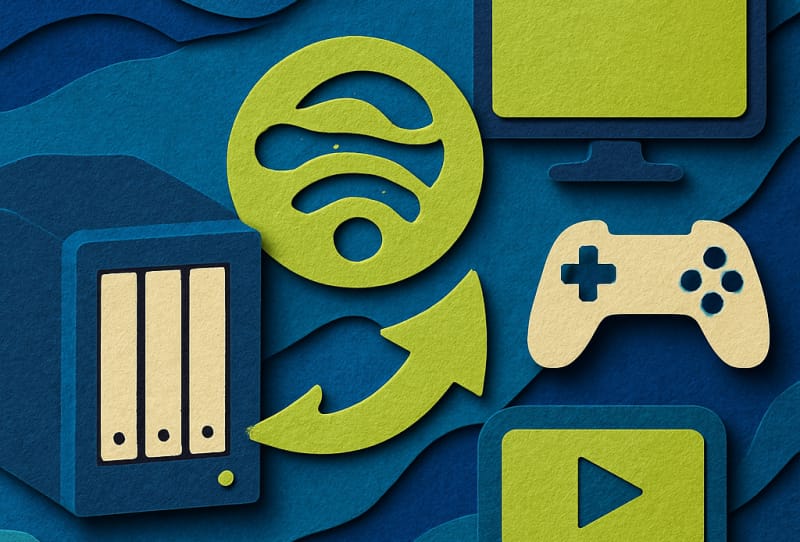
If you keep your movies, music and photos on a network attached storage device, enabling DLNA streaming on your NAS lets almost any smart TV, games console, media player or speaker on your home network find and play that content without extra software. This guide walks you through what DLNA does, how to turn it on across common NAS platforms, and how to get a DLNA client talking to your NAS reliably. It suits anyone who has just set up a NAS and wants to start streaming to a TV or a dedicated media box like the Dune HD Homatics Box R 4K Plus without messing about with file transfers.
Table of Contents
What you’ll need
- A NAS device with a DLNA or “media server” feature, usually built into the manufacturer’s app store or control panel
- Your NAS and playback device connected to the same local network, ideally both on wired Ethernet or the same Wi-Fi band
- Media files already copied onto the NAS in folders the media server can index
- A DLNA-compatible client, such as a smart TV, streaming box, games console, or a dedicated media player like the Dune HD Homatics Box R 4K Plus
- Administrator access to your NAS’s web-based management interface
Understand what DLNA actually does
DLNA (Digital Living Network Alliance) is a set of standards that lets devices on the same network discover shared media and stream it without you needing to map network drives or install extra apps on every device. Your NAS acts as the server, scanning designated folders and building a library of video, music and photo files. Any DLNA-certified client, such as a smart TV, console or standalone media player, can then browse that library over the network and play files directly. It is a different approach to SMB file sharing, which is covered in the guide to setting up network shares: DLNA is built for browsing and playback, while SMB is built for general file access and copying.
Enable DLNA on a Synology NAS
- Log in to your Synology NAS through DSM, the web-based management interface, using an administrator account.
- Open the Package Center and search for the Media Server package, then install it if it is not already present.
- Launch the Media Server package and switch on DLNA/UPnP sharing from its settings screen.
- Select which shared folders the media server should index, such as your Video, Music and Photo folders.
- Give the media server a recognisable name, since this is what will appear in the list of sources on your TV or player.
- Save your settings and allow the NAS a few minutes to scan and index the selected folders, especially if the library is large.
Enable DLNA on a QNAP NAS
- Sign in to QTS, QNAP’s operating system, through the web management console.
- Open the App Center and install the Multimedia Console app if it is not already on the device.
- Inside the Multimedia Console, turn on the DLNA Media Server option.
- Choose the folders you want included in the media library and set how often the NAS should rescan them for new files.
- Apply the changes and give the indexing process time to finish before testing playback.
Enable DLNA on other NAS brands
Most other NAS platforms, including Asustor and various Linux-based systems, follow a similar pattern even if the menu names differ slightly. Look for an app store or package manager on the device, install a package described as a media server, DLNA server or UPnP server, then point it at the folders holding your content. If your NAS runs open-source software, you may instead be configuring a tool such as MiniDLNA or a similar media server package directly through a settings file or admin panel, in which case you will typically need to specify the media directories and restart the service for changes to take effect.
Connect a DLNA client and test playback
- Turn on your TV, console or media player and make sure it is connected to the same network as your NAS.
- Open the device’s network or media source menu and look for an option such as “Media Servers”, “DLNA” or “Network”.
- Select the media server name you set earlier and browse into the shared folders.
- Play a test file to confirm both video and audio stream smoothly without buffering.
- Repeat the test with a different device type, since some clients handle certain file formats better than others.
Tips and troubleshooting
If a device cannot see your NAS at all, confirm both are on the same subnet and that DLNA discovery is not blocked by router-level client isolation, a setting some routers use to keep wireless devices from seeing each other. Firewall rules on the NAS itself can also block discovery, so check that the media server’s ports are allowed. If files show up but will not play, the issue is often format compatibility rather than networking, since some clients cannot decode certain video codecs and will need the file transcoded or converted. Keeping your library well organised also makes a real difference to how reliably DLNA indexing works, so it is worth following consistent naming and folder conventions when you organise and name your media files. If your library is large and growing, consider whether your current drive setup has enough headroom, and review the guide on setting up your NAS with multiple hard drives if you need more capacity or redundancy.
Frequently asked questions
Do I need an internet connection for DLNA streaming to work?
No. DLNA works entirely over your local network, so it will keep working even if your internet connection drops, as long as both the NAS and the playback device stay connected to the same router or switch.
Why can my TV see the NAS but not play some files?
This is usually a codec or container compatibility issue rather than a network problem. Some smart TVs and older media players cannot decode certain video or audio formats natively, so those files may need converting to a more widely supported format before they will play.
Is DLNA the same as casting from an app like Chromecast?
They are different technologies. DLNA lets a client device browse and pull files directly from a server on the network, while casting protocols typically send a stream from a phone or app to a receiver. Some NAS platforms support both, so check your device’s app store for additional casting options if you need them.
Can I use DLNA to stream to more than one device at once?
Yes, most NAS media servers can handle multiple simultaneous DLNA connections, though performance depends on your NAS hardware and network speed. If several devices stream large files at the same time, you may notice slower performance on lower-powered NAS models.