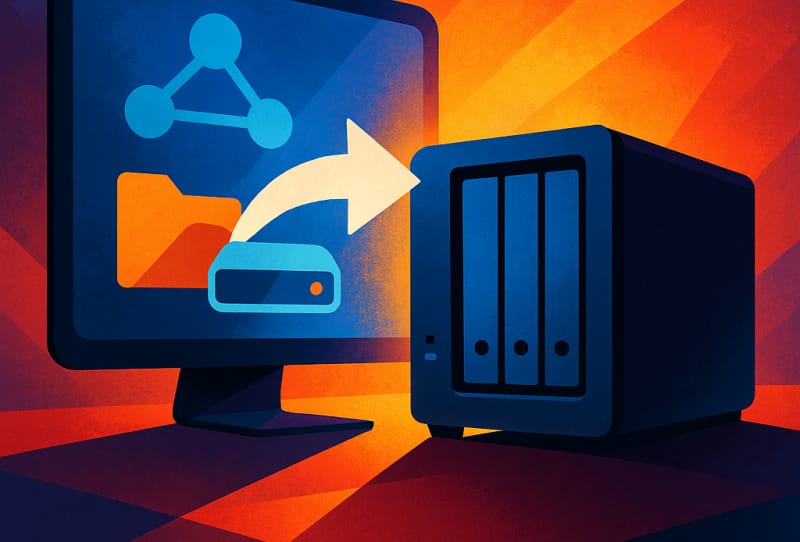
If you have added a NAS device to your home network but it will not show up in File Explorer, the fix usually comes down to two things: network discovery and drive mapping. This guide walks you through how to set up NAS on Windows 11 so your shared folders appear automatically and stay connected every time you turn on your PC. It is written for anyone who has already connected a NAS to their router but cannot yet browse its shares from a Windows 11 machine.
Table of Contents
What you’ll need
- A NAS device already connected to your router by ethernet, powered on, and set up with at least one shared folder
- A Windows 11 PC connected to the same local network (wired or Wi-Fi)
- The NAS device’s name or IP address, found in its own management app or router’s connected devices list
- A username and password for the NAS share, if the folder is not set to allow guest access
Turn on network discovery in Windows 11
Network discovery is the setting that lets your PC see other devices on the same network, and lets those devices see your PC in return. It is often switched off by default on networks Windows considers public, which is one of the most common reasons a NAS refuses to appear.
- Open Settings, then go to Network & internet.
- Select your active connection type, either Wi-Fi or Ethernet, and confirm the network profile is set to Private rather than Public. Network discovery works far more reliably on private networks.
- Open Control Panel and go to Network and Sharing Center, then select Change advanced sharing settings.
- Under the profile currently in use, turn on network discovery and turn on file and printer sharing.
- Save your changes and restart File Explorer, or simply sign out and back in, so the new settings take effect.
Find your NAS on the network
- Open File Explorer and select Network from the left-hand sidebar.
- Wait a few moments for Windows to scan the local network and list discovered devices. Your NAS should appear by its device name.
- If nothing appears after a minute, type the NAS device’s IP address directly into the File Explorer address bar using two backslashes before it, for example \\192.168.1.50, and press Enter.
- Enter the NAS username and password if prompted, and tick the option to remember your credentials so you are not asked every time.
- Confirm you can see and open the shared folders on the NAS before moving on to mapping a drive.
Map the NAS as a network drive
Mapping assigns a permanent drive letter to a NAS share, so it behaves like any other disk attached to your PC and reconnects automatically at startup.
- Open File Explorer and select This PC from the sidebar.
- Select the Computer or ellipsis menu at the top, then choose Map network drive.
- Choose an unused drive letter from the dropdown list.
- In the Folder field, type the network path to the shared folder, for example \\NASNAME\SharedFolder, or browse to it using the Browse button.
- Tick Reconnect at sign-in so Windows automatically restores the connection every time you log in.
- Tick Connect using different credentials if your NAS login differs from your Windows account, then enter the NAS username and password when prompted.
- Select Finish. The mapped drive should now open automatically and appear under This PC with your chosen letter.
For advanced or scripted setups, the same result can be achieved from the command line using the net use command, which is useful for IT professionals managing multiple machines or automating the process across a household of devices.
Tips and troubleshooting
- If the NAS still will not appear, double-check that both the NAS and the PC are on the same subnet and connected to the same router, not separate guest or IoT networks.
- Some NAS brands require SMB (Server Message Block) file sharing to be enabled in their own settings before Windows can see them, so check the NAS admin panel if discovery fails.
- A mapped drive that disconnects after sleep or restart is usually a credentials issue. Re-map the drive and make sure Reconnect at sign-in is ticked, and that saved credentials have not expired.
- Firewall software, including third-party antivirus tools, can block network discovery traffic. Temporarily disabling it can help confirm whether it is the cause.
- If you manage several shared folders, consider mapping each one to its own drive letter rather than nesting them, since this makes backups and shortcuts far easier to organise.
Frequently asked questions
Why doesn’t my NAS show up in Windows 11 Network view?
This is almost always caused by network discovery being switched off, the network profile being set to Public instead of Private, or the NAS and PC sitting on different network segments. Working through the discovery steps above resolves most cases.
Do I need a static IP address for my NAS?
It is not strictly required, but it makes mapping far more reliable. If your NAS uses a dynamic address handed out by the router, it can occasionally change, which breaks a mapped drive. Setting a fixed IP or DHCP reservation for the NAS in your router settings avoids this problem entirely.
Can I map a NAS drive without a username and password?
Yes, if the shared folder on the NAS is configured for guest or anonymous access. Most NAS operating systems allow you to toggle this per folder, though enabling authentication is generally safer for anything containing personal files.
What is the difference between network discovery and drive mapping?
Network discovery lets your PC find and display devices on the local network, including your NAS. Drive mapping goes a step further by assigning a specific shared folder a drive letter so it opens automatically and behaves like a permanent disk in File Explorer.