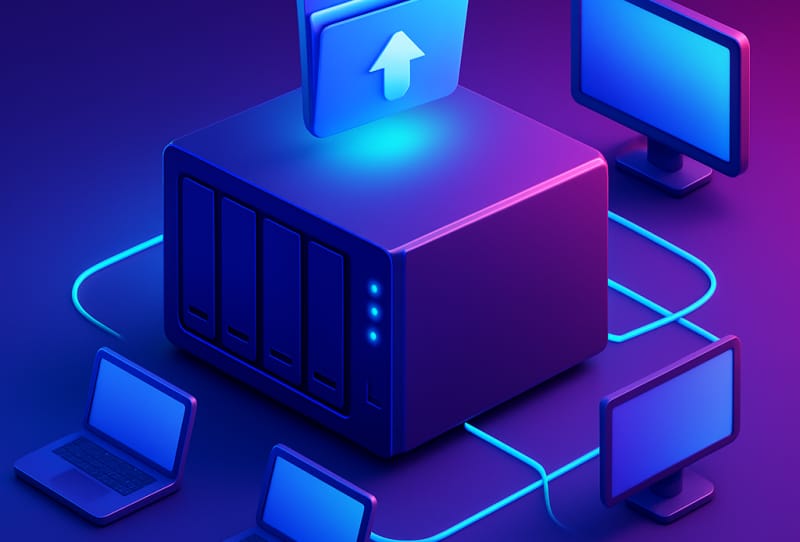
Setting up NAS network shares and SMB access lets every computer, phone, and media player in the house reach the same folders without cables or copying files back and forth. This guide walks through creating shares on your NAS, turning on SMB, setting sensible permissions, and connecting from Windows, Mac, and other devices. It suits anyone who already has a NAS running and wants to actually start using it as shared storage.
Table of Contents
What you’ll need
- A NAS device that is powered on and connected to your router or switch
- Administrator access to the NAS management interface (usually reached through a web browser)
- At least one storage volume already created on the NAS
- A computer on the same network to test the connection
- User account details or a plan for who needs access to which folders
If you haven’t reached this stage yet, it’s worth working through setting up a NAS at home first, since that covers the initial setup and volume creation this guide builds on.
Understanding NAS network shares and SMB
A network share is simply a folder on your NAS that other devices can see and open over the network, as if it were a folder on their own drive. Windows PCs, Macs, and most smart TVs and media players talk to these shares using the Server Message Block (SMB) protocol, which handles the file transfer and permission checks behind the scenes. Almost every NAS brand, from Synology and QNAP to Asustor, supports SMB out of the box, though the exact menu names differ slightly between them.Getting NAS network shares working properly comes down to three things: creating the folder, switching on the SMB service, and deciding who is allowed in.
Step 1: Create a shared folder on your NAS
- Log into your NAS management interface using its IP address or local network address in a web browser.
- Open the storage or file sharing section, sometimes labelled “Shared Folder”, “File Station”, or something similar depending on the brand.
- Choose to create a new shared folder and give it a clear, short name without spaces or unusual characters where possible.
- Select which storage volume the folder should sit on, especially if your NAS has more than one drive pool.
- Add a description if the interface allows it, which helps later if you end up with several shares for different purposes (media, backups, documents, and so on).
- Save the new shared folder before moving on to permissions.
Step 2: Enable SMB on your NAS
- Find the network services or file services section in the NAS control panel.
- Locate the SMB (sometimes shown as “Windows File Sharing” or “CIFS”) toggle and switch it on if it isn’t already.
- Check the SMB version settings if your NAS exposes them. Modern NAS units default to a current, secure version of SMB, and it’s best to leave older, less secure versions disabled unless an old device on your network genuinely needs them.
- Note the workgroup or network name shown in this section, since some older devices need it to match before they can browse the shares.
- Apply the changes and, if prompted, restart the file sharing service.
Step 3: Set up user accounts and permissions
- Open the user management section of the NAS interface.
- Create a separate account for each person who needs access, rather than sharing one login between household members. This makes it far easier to track who changed or deleted a file later.
- Assign each user to a group if your NAS supports groups, which speeds up permission changes when you have several shares.
- Open the permissions settings for the shared folder created earlier and assign each user or group read-only or read-write access as needed.
- Avoid giving every account full administrator rights over every share. Keep sensitive folders, such as backups, limited to the accounts that actually need them.
- Save the permission settings and, if available, run a quick permission summary to double check nothing was left wide open by accident.
Connecting to your NAS share from Windows
- Open File Explorer on the Windows PC.
- Type two backslashes followed by your NAS name or IP address into the address bar (for example, using the NAS device’s local network address).
- Press enter and wait for Windows to list the available shared folders.
- Enter the username and password for the NAS account when prompted.
- Double-click the share to open it, or right-click and map it as a network drive so it appears automatically in future.
For a more detailed walkthrough, including mapping the share as a drive on Windows 11, that guide covers network discovery settings that sometimes need adjusting before shares show up automatically.
Connecting to your NAS share from a Mac
- Open Finder and choose the option to connect to a server.
- Type smb:// followed by the NAS name or IP address.
- Enter the NAS username and password when asked, and choose to save it to the keychain if you want automatic reconnection later.
- Select the shared folder from the list that appears to mount it on the desktop.
Connecting media players and other network devices
Once SMB is running, most smart TVs, games consoles, and dedicated media players can browse and play files directly from your NAS shares without needing anything installed on the NAS itself. A device like the Dune HD Homatics Box R 4K Plus, for instance, can add an SMB share as a network source and play video files straight off the NAS, which is a common way to build a simple home media setup without a separate media server. Whatever player you use, organising your media files properly on the share first makes browsing and playback far smoother.If you’d rather run a proper media server on top of the NAS shares, setting up Plex on a Synology NAS is a natural next step, since Plex can index the same shared folders you’ve just created.
Expanding storage with external drives
Many NAS units accept an external USB drive as extra storage or a quick backup target for an existing share. A compact drive such as the Lexar Muse Ultra Slim Portable SSD works well for this purpose, since it is small enough to leave plugged into the NAS permanently or carry between locations for an offline backup copy of important shares. Check your NAS documentation for how externally connected drives appear in the storage manager before relying on one for anything critical.
Tips and troubleshooting
- If a share doesn’t appear on a Windows PC, confirm network discovery is turned on and that both devices sit on the same subnet.
- Slow transfers over SMB are often caused by an older Wi-Fi connection rather than the NAS itself. A wired connection or a faster wireless band usually fixes this.
- If login prompts keep reappearing, double check the password hasn’t expired or been changed on the NAS side, and clear any saved credentials on the client device before reconnecting.
- Keep at least one account with full administrator access that isn’t used for everyday file access, so you always have a way back in if a permission change locks you out of a share.
- Review share permissions occasionally, especially after adding new devices or users, since it’s easy to leave a folder more open than intended.
Frequently asked questions
Do I need to enable SMB if my NAS already supports other protocols?
SMB is the protocol Windows and most modern Macs use by default for network file sharing, so it’s the most reliable choice for general household use. Other protocols like NFS or FTP still have their place, particularly for Linux servers or older systems, but SMB gives the widest compatibility across everyday devices.
Can I limit which devices see a particular share?
Yes. Most NAS interfaces let you restrict a share to specific user accounts or groups rather than making it visible to anyone on the network. Setting up separate accounts for each household member, as covered above, makes this kind of restriction far easier to manage.
Why can’t my media player see the NAS share?
This is usually down to the SMB version. Some older or budget media players only support an older SMB version, so if your NAS defaults to a newer, more secure version only, the device may not see the share at all. Check the device’s network settings and, if needed, enable an older compatible SMB version temporarily on the NAS to confirm this is the cause.
Is it safe to access NAS shares from outside the house?
SMB itself is designed for local network use and isn’t meant to be exposed directly to the internet. For remote access, use a proper method such as a VPN back into your home network rather than opening SMB ports on your router. A dedicated guide on how to access your NAS remotely over the internet covers safer ways to reach your files while away from home.